When you are a travel photographer, having quality gear is important. Day to day use can be rough on basic equipment. Peak Design is a company that definitely stands behind their products and their customer service is amazing!
I often joke that I am a walking ad for Peak Design. I have their Everyday Backpack, Tech Pouch, Slide Lite, and Field Pouch and the list goes on! Last summer I purchased the Carbon Fiber Tripod to lighten my load.
Peak Design Carbon Fiber Tripod
My first impression of the Peak Design Carbon Fiber Tripod was “where has this been all of my life?” It folds down to a small diameter (according to Peak Design, the size of a water bottle), and weighs less than 3 pounds! My old travel tripod weighed more than 4 pounds and was very bulky to pack, especially internationally.
Travel with the Peak Design Carbon Fiber Tripod
I recently returned from a trip to Japan. This was my first international trip carrying the Peak Design Carbon Fiber Tripod. It fit well in my backpack outer pocket (not my Peak Design backpack as I have another smaller one I travel with), and I did not feel like it added a lot of bulk.
The set-up is quick and easy. It has a latch release and the plate slips in and locks easily. Until the unexpected happens.
Dealing with the unexpected
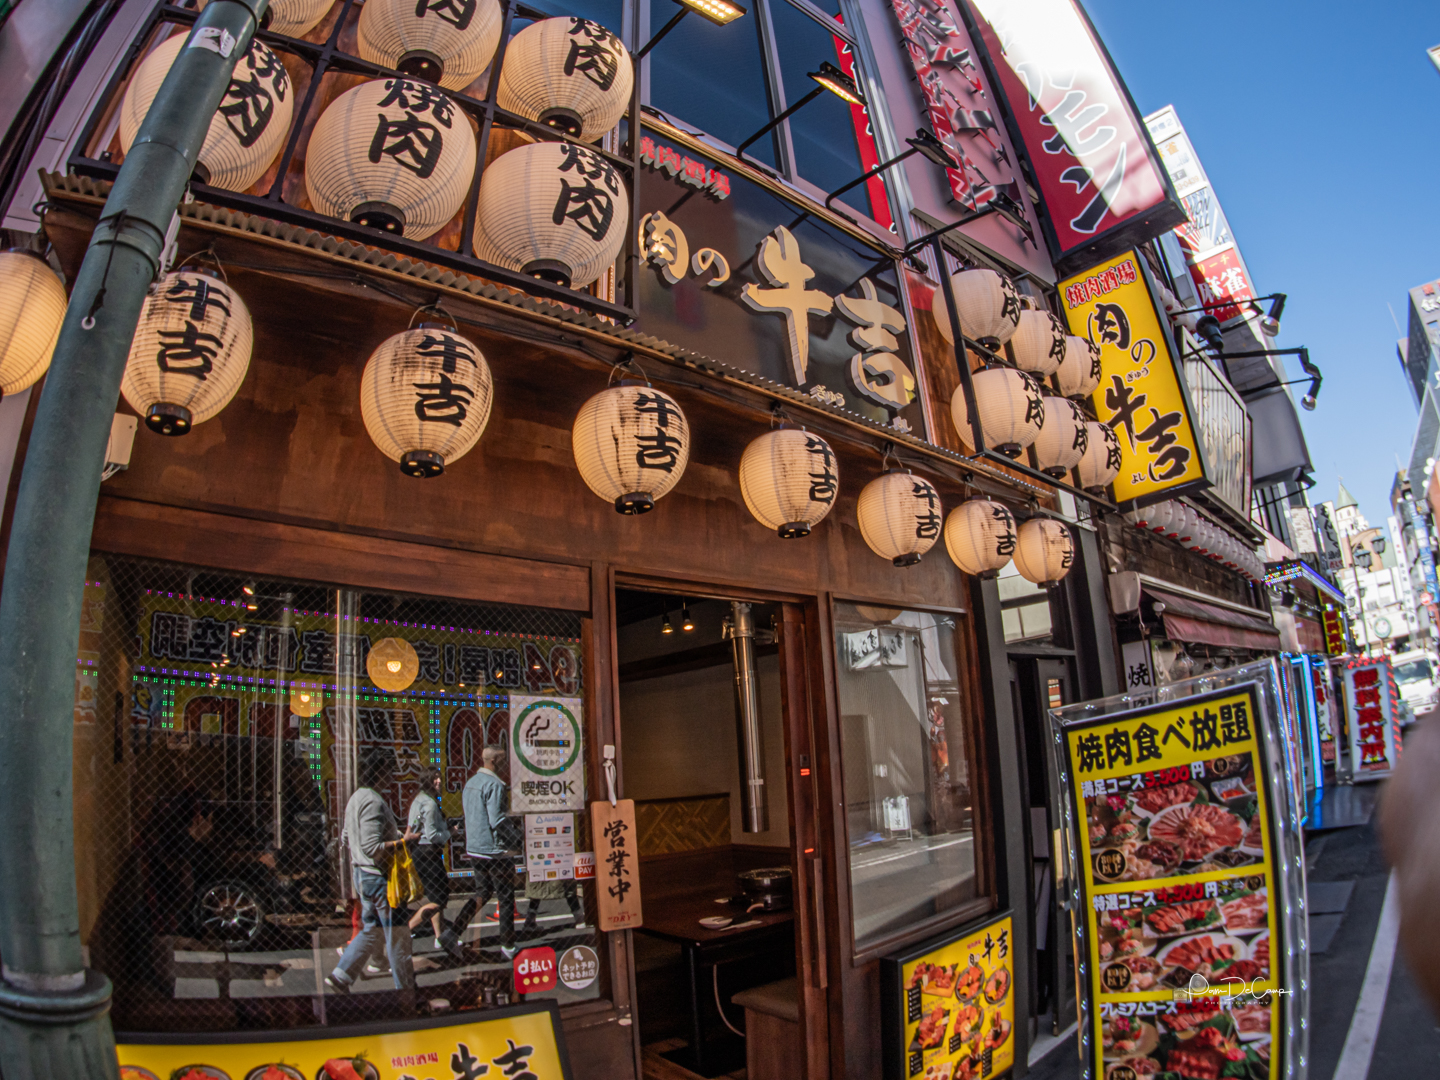
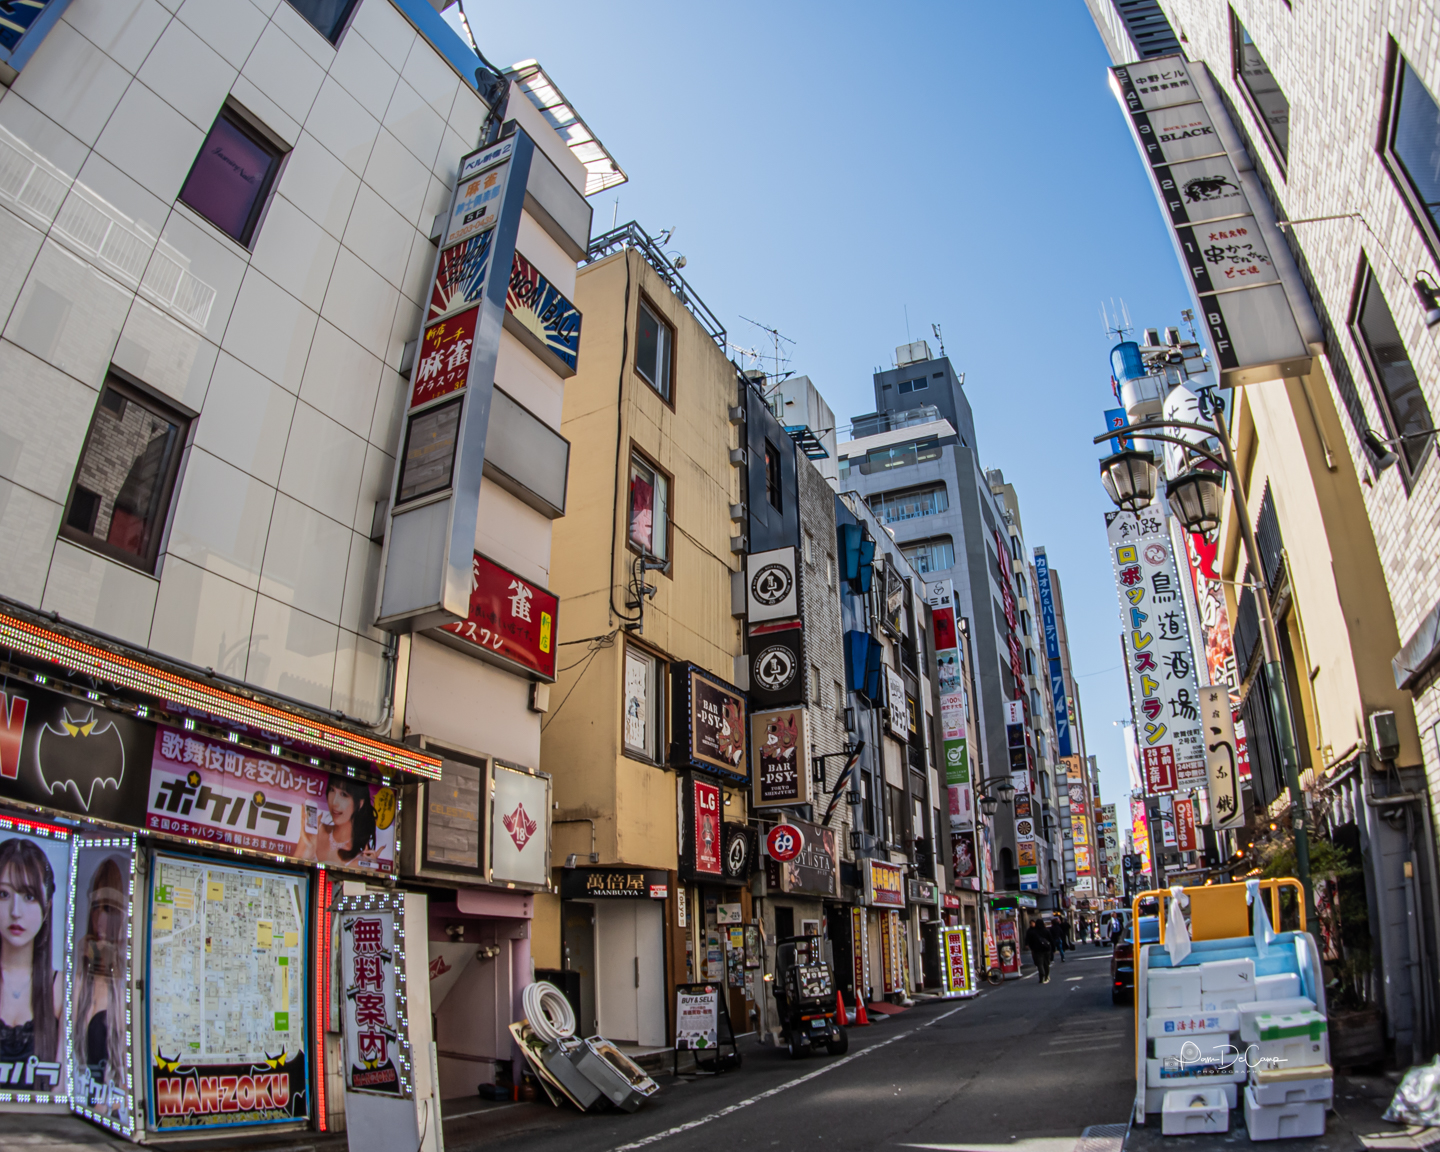
The first night of my tour in Tokyo, we were doing long exposure photography so the tripod was a must. We walked down a narrow street and we were photographing the Tokyo Tower. At that moment I was using my cell phone, but was getting ready to set up my tripod. It slipped out from under my arm and landed hard on the pavement. The included hex tool fell out and the group thought the tripod had sustained serious damage. I picked up the hex tool and placed it back in its holder. Nothing else seemed out of place.
We went to our next location and I could not get my camera to lock into place on the tripod. I had experienced this before, but for whatever reason this was different. I had to wait until I got back to my room where the light was better to see what was going on.
Initial inspection
Just looking at the latch mechanism it appeared to be bent. It must have landed just right to knock it out of alignment. I knew there was a camera store near-by, and we had one more day in Tokyo so I was looking at purchasing a new tripod.
While I was wallowing in self-pity over my tripod, I Googled, Peak Design, and much to my surprise, they have a Tokyo location AND it was just a few steps from my hotel!
Peak Design Tokyo
The next day, on our way back to the hotel after our morning outing, we stopped in the Peak Design store. I explained to them (the best I could with the language differences), what happened. I was able to produce my receipt on my cell phone and the young lady helping me told me to bring my tripod to the store.
I went to the hotel and retrieved my tripod and made my way back to the shop.
Customer service: Extraordinary
I arrived back to the store and she walked me through the return process…all written in Japanese! We took pictures of the latch and attached them to the claim. My tripod was less than a year old and I have to say, this was an amazing experience! I was worried that since it was an accident they would just say, “sorry about your luck.” They also had replacement parts available, they could have easily sold me those. I was pleasantly surprised when she handed me a brand new tripod!
Peak Design stands by their products

Peak Design is definitely a company that stands by their products. I would have been toting home two tripods if it had not been for their customer service. I certainly appreciate the young lady’s help in the Peak Design Tokyo store. I wish I had gotten her name. She took the time to interpret the information and between the two of us we figured out how to fill out a form that was completely in Japanese. I did joke with her and asked if I had just sold my house to her.
Peak Design saved my trip

I look back at my experience with Peak Design and I was fortunate to have a shop so close to me. This happened the first day of a two week tour; I could not imagine being without a tripod for the rest of the trip. Peak Design saved my trip. I appreciate their care and customer service.
Buying quality gear from a reputable company is important to me. I look forward to using my Peak Design Carbon Fiber Tripod for a long time.