Before PhotoShop

On my recent trip to the Antique Mall in Medina, Ohio I happened upon a couple of items and my curiosity got the best of me. The box and sleeve were marked Spiratone and one was a Vignetar and the other was a Center Sharp Focus. They were both marked 52mm and I thought out loud, “Those would fit my 50mm lens!” So for about $23 I purchased both items. Spiratone was a manufacturer of camera accessories from about 1946 to 1990. Many of the younger photographers have never used or seen these types of filters because Photoshop or other programs can provide these effects. Photography, back in the day (LOL), was much more, how would I say this, accessory dependent than what we are now. In the darkroom you would achieve vignetting by cutting piece of paper and shooting your light beam from your enlarger through it. You dodged and burned using cutouts of the image. If you were lucky you could purchase filters to give you the star effects and soft focus for portraits (I still have mine!).
Today, I decided to “play” with my newly found items. I had to experiment with the f/stop settings and found if I kept it mid-range or stopped down all the way the effects were much better. The Vignetar is adjustable and will give you a smaller or larger vignette. The Center Sharp Focus had its challenges. If I shortened my depth of field (smaller f/stop) I had much more blur within the center part of the photograph; it produced shadows and reflections. If I narrowed my depth of field (higher f/stop) it gave a much better effect.
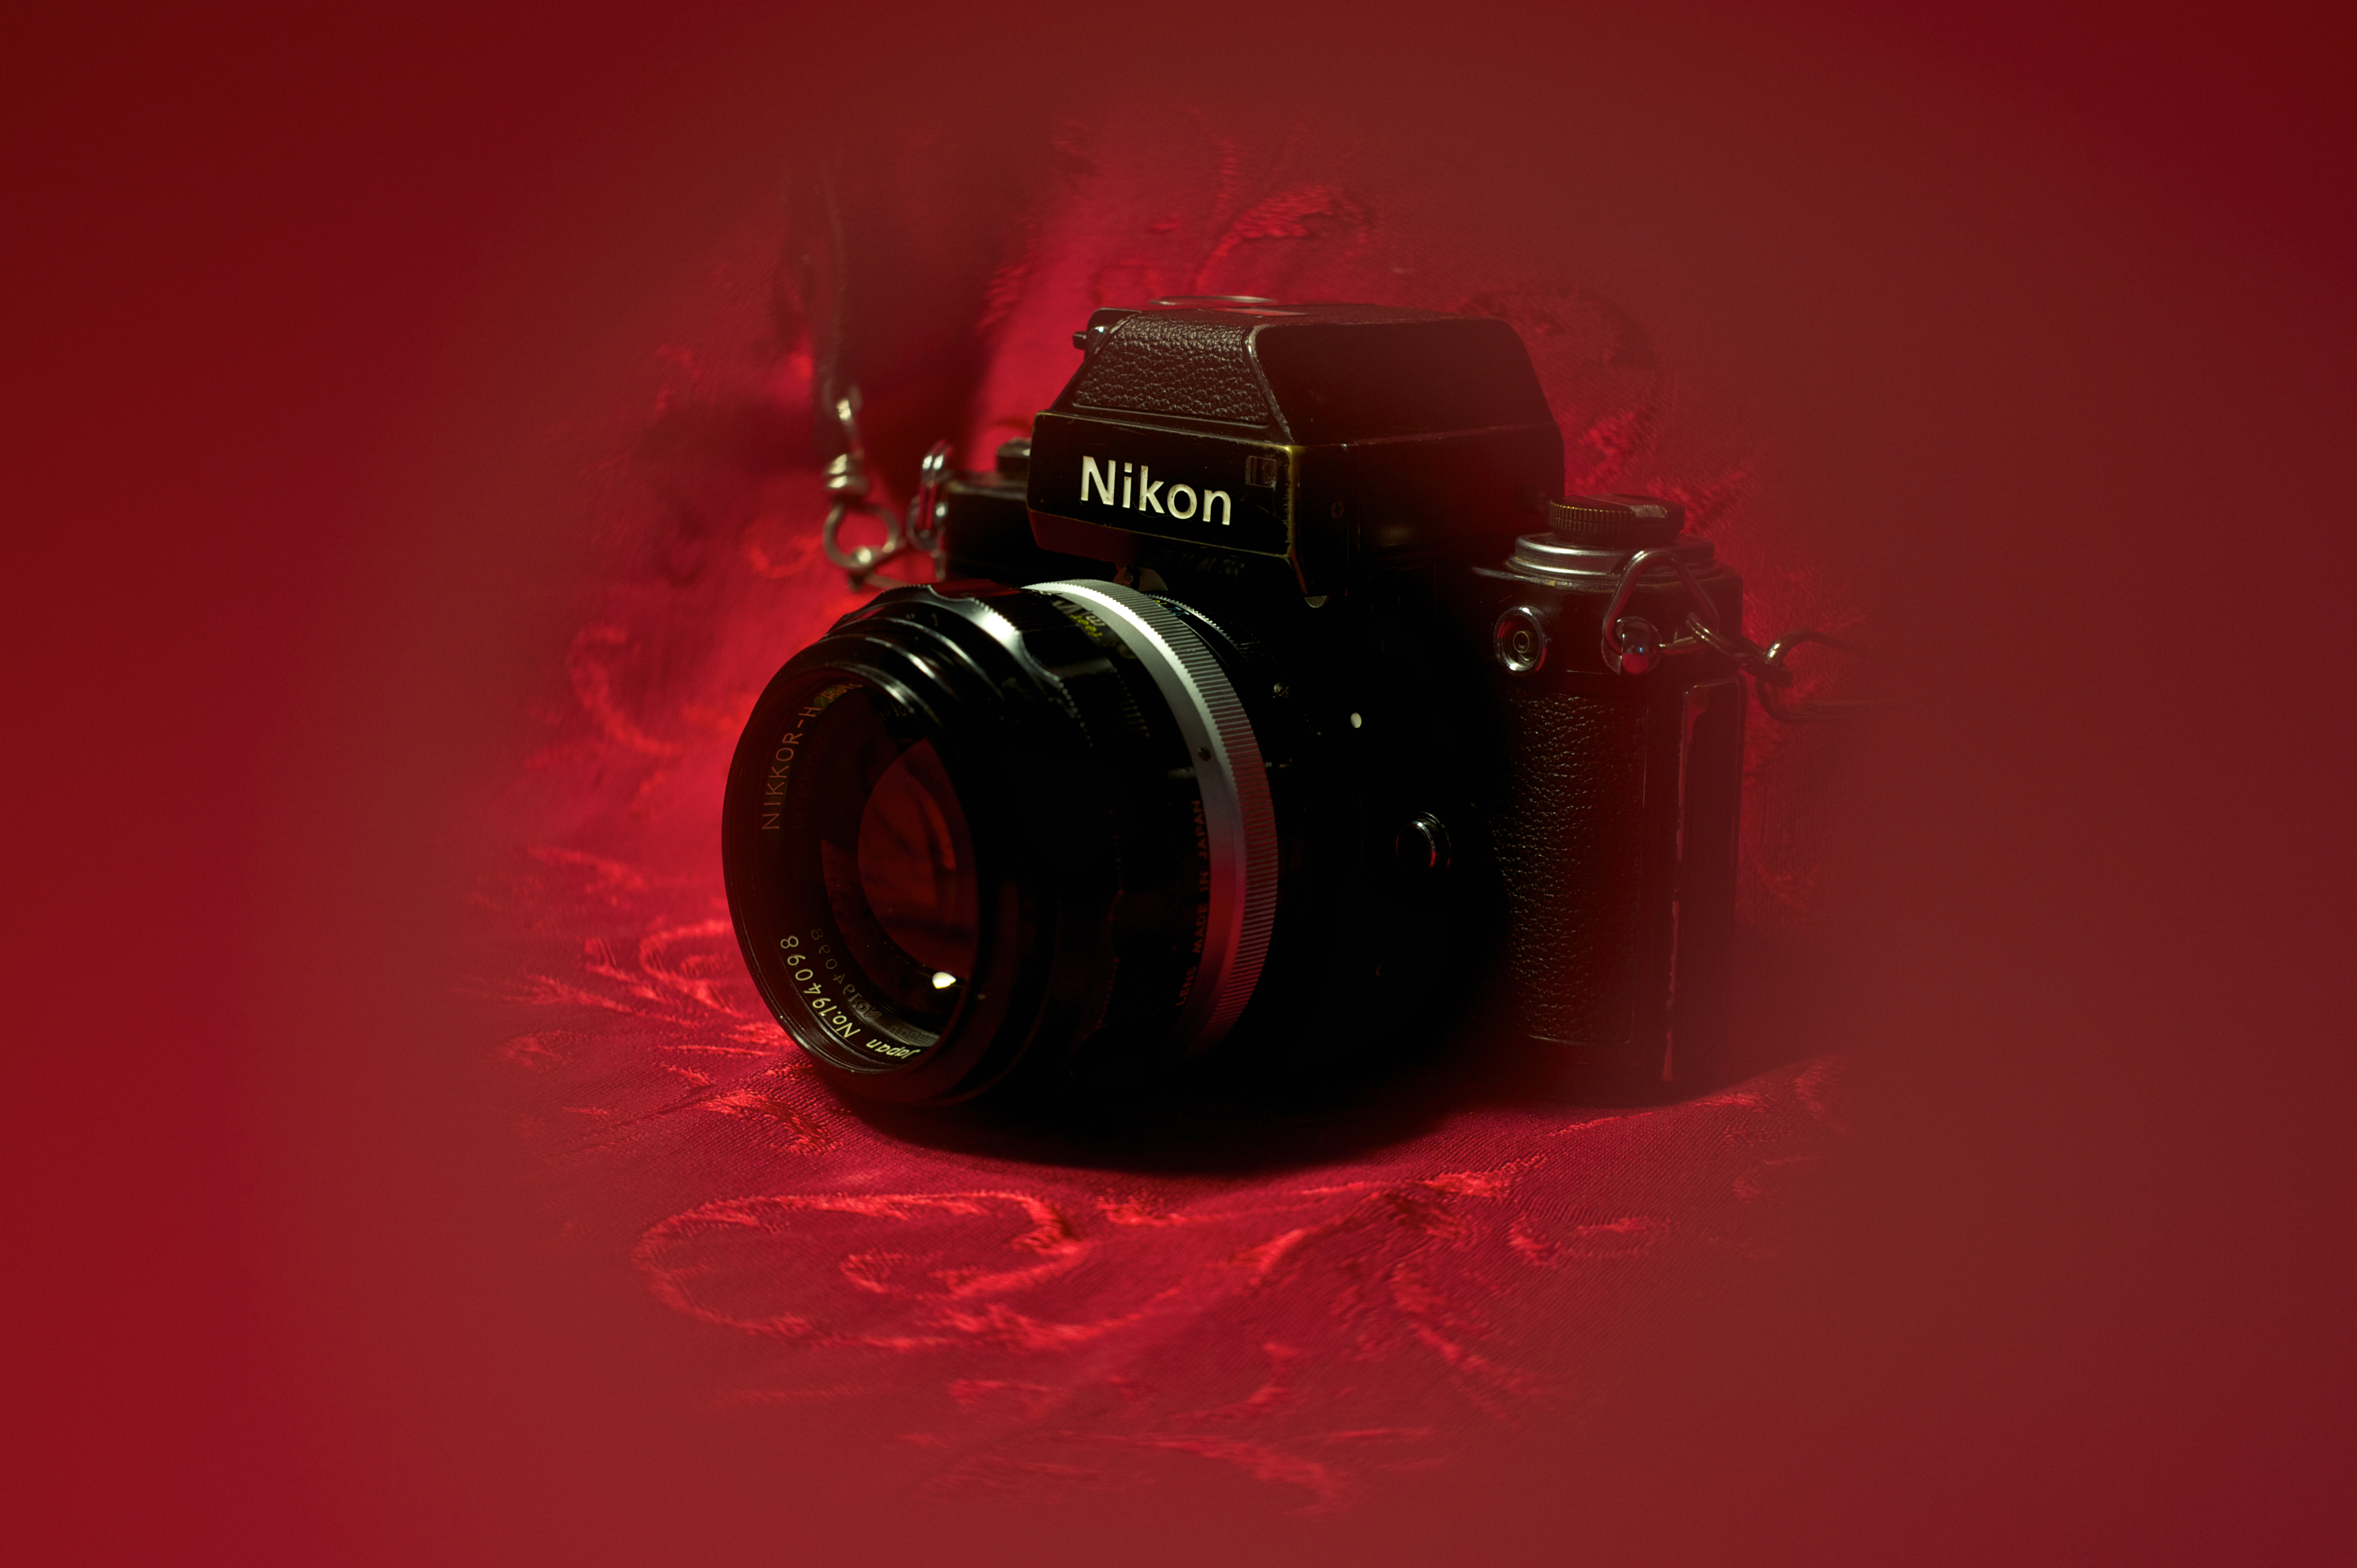

The first photo above (red background) is with the Vignetar and is a straight out of the camera exposure. The black and white version is the same photo using a blue filter effect in Aperture. I like how the camera fades into the background with this. This camera is my old Nikon F2 with the 85mm f/1.8 lens attached (Nikkor). These were photographed with my Nikon D700 and I used a tripod and I lighted this with white fluorescent lights on a pole lamp. My settings were ISO 200, f/6.3, and shutter 1/15.

The next image was taken with the Center Sharp Focus filter and was straight out of the camera. You can see the blur effect it made with the background while keeping the center focused. My settings for this were ISO 200, f/6.3, shutter 1/15.
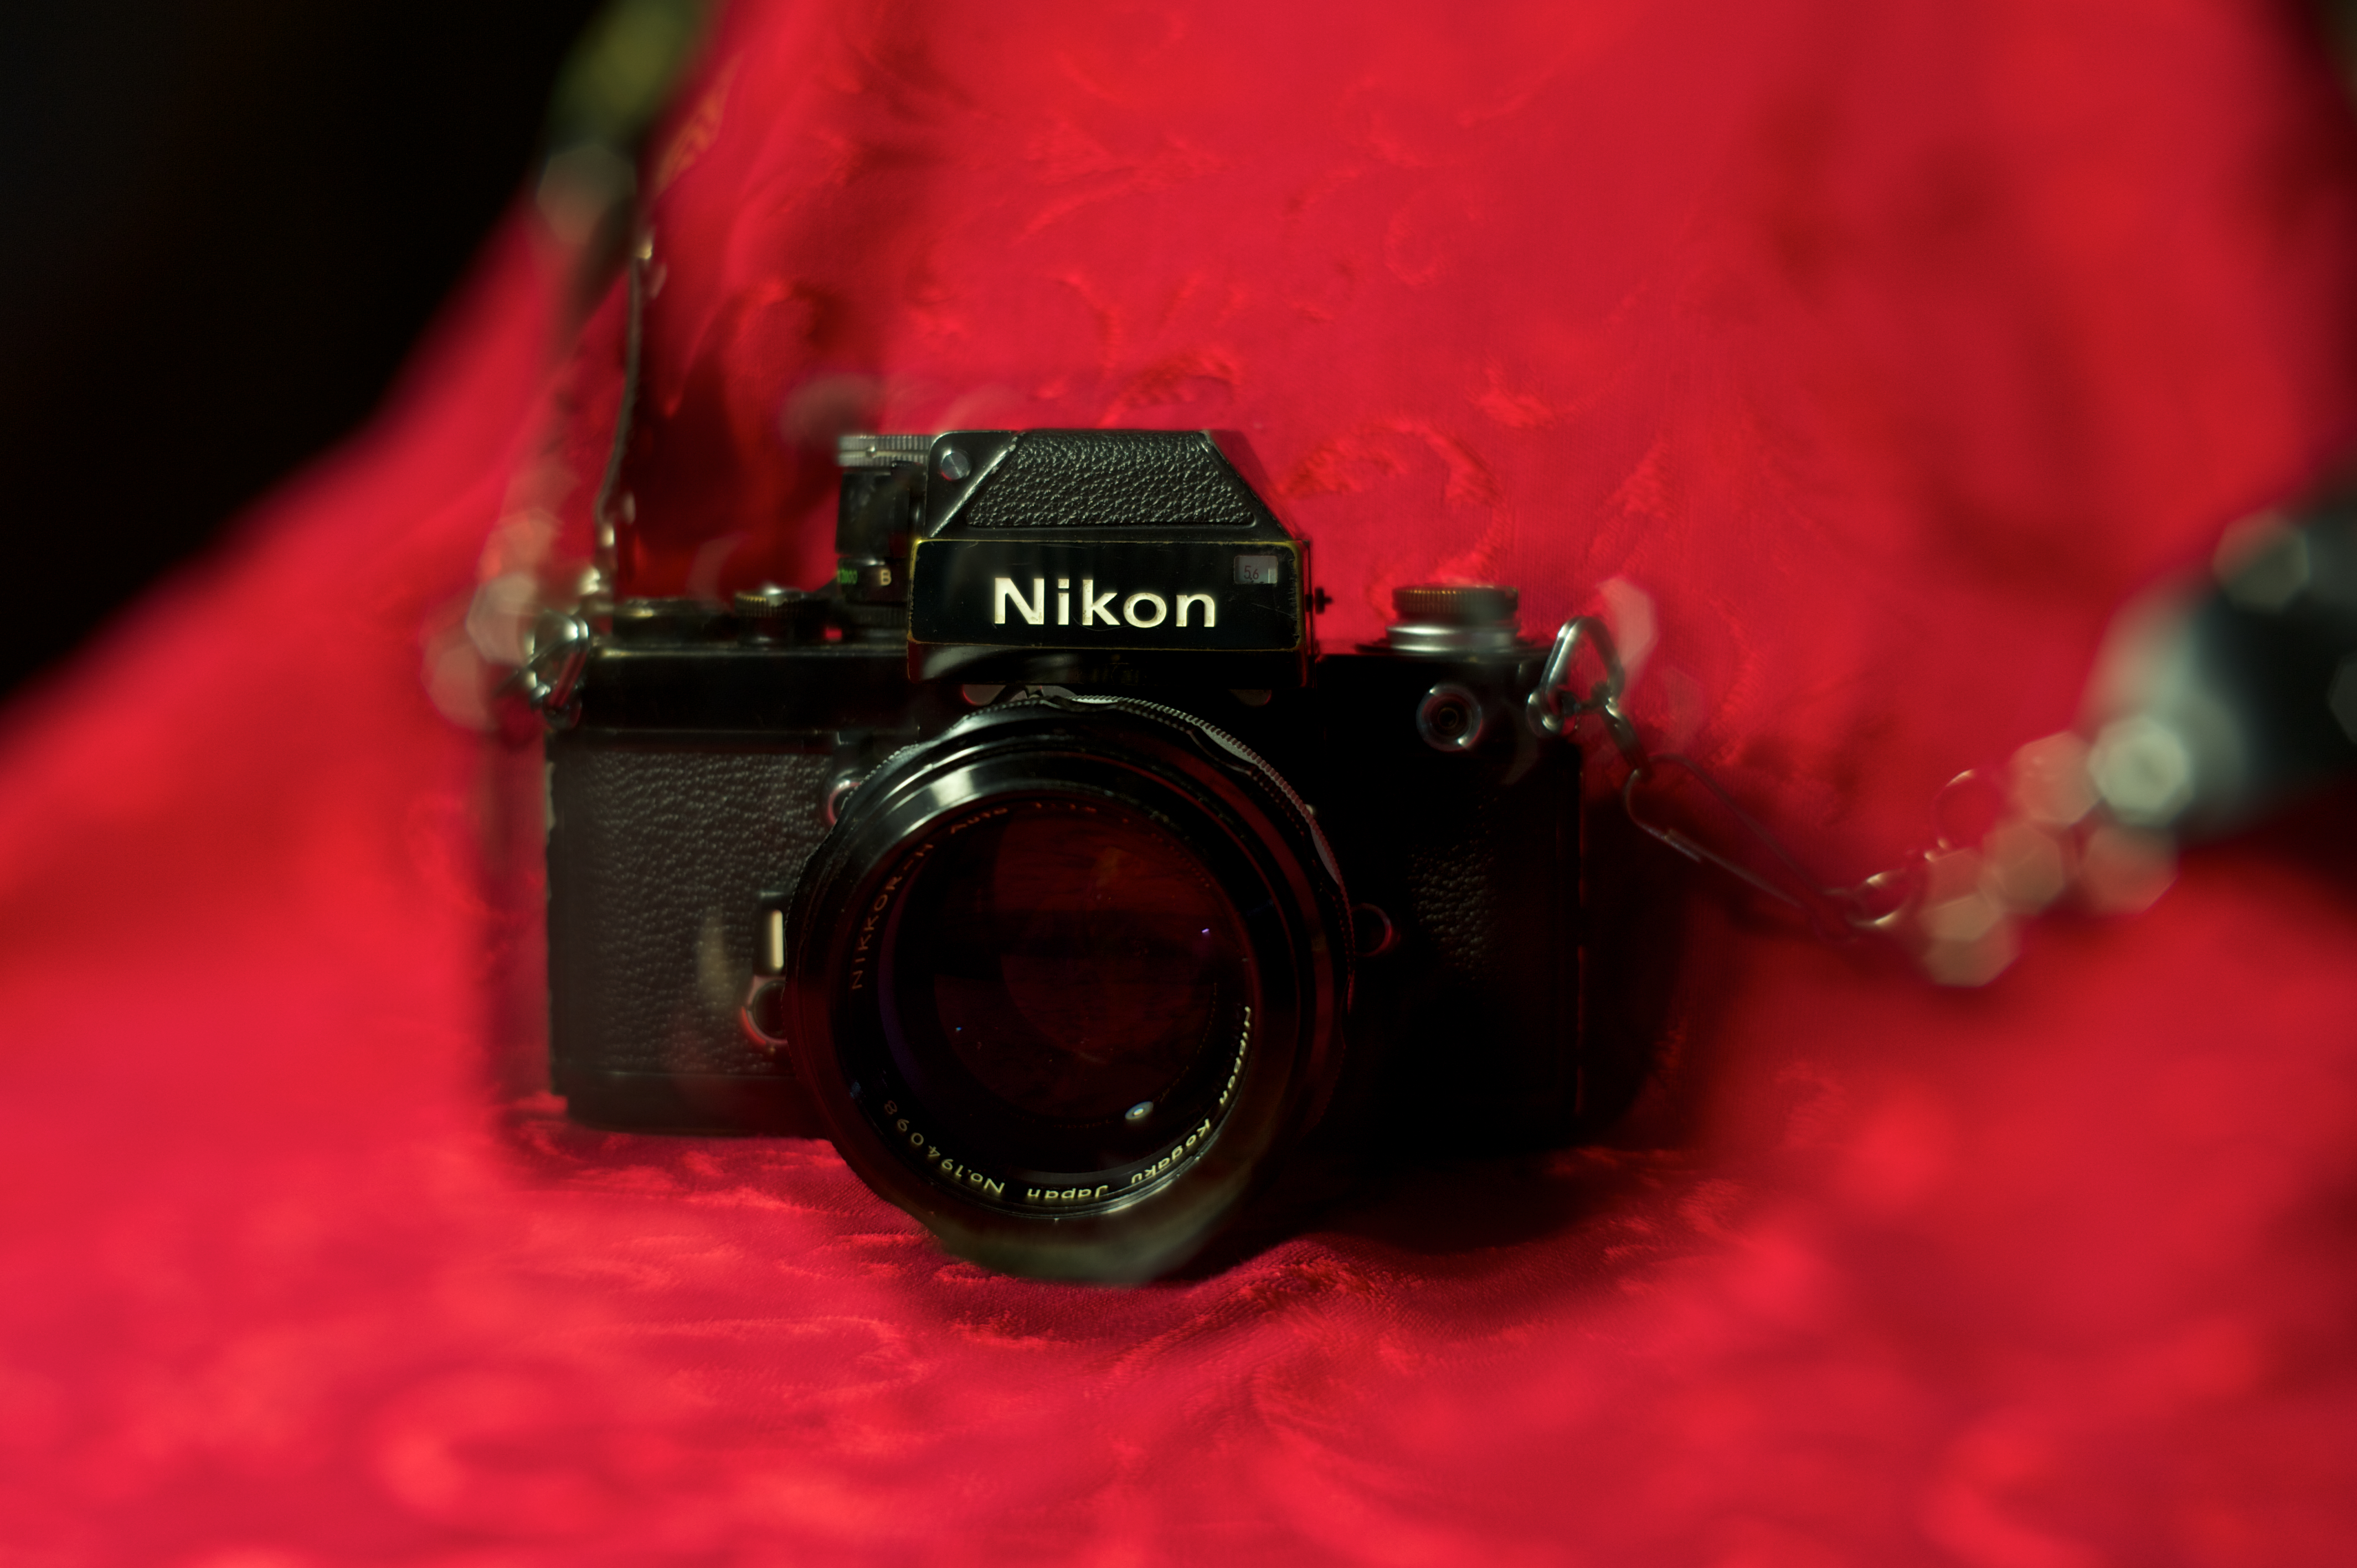
Here is another view of the effect the Center Sharp Focus filter produces; my settings for this photo were ISO 200, f/6.3, shutter 1/13.

My final image is a shot taken with the Vignetar; my settings were ISO 200, f/9, and 1/3 of a second. I again, used the blue filter in Aperture to convert to the black and white.
I think these are great finds. I enjoyed shooting with these and they make great effects. I think they would be a great addition to macro photography to help keep your central focus on your subject. I am going to keep my eye open for other cool “old” items to use.
Happy Shooting!
The Making of Scrooge
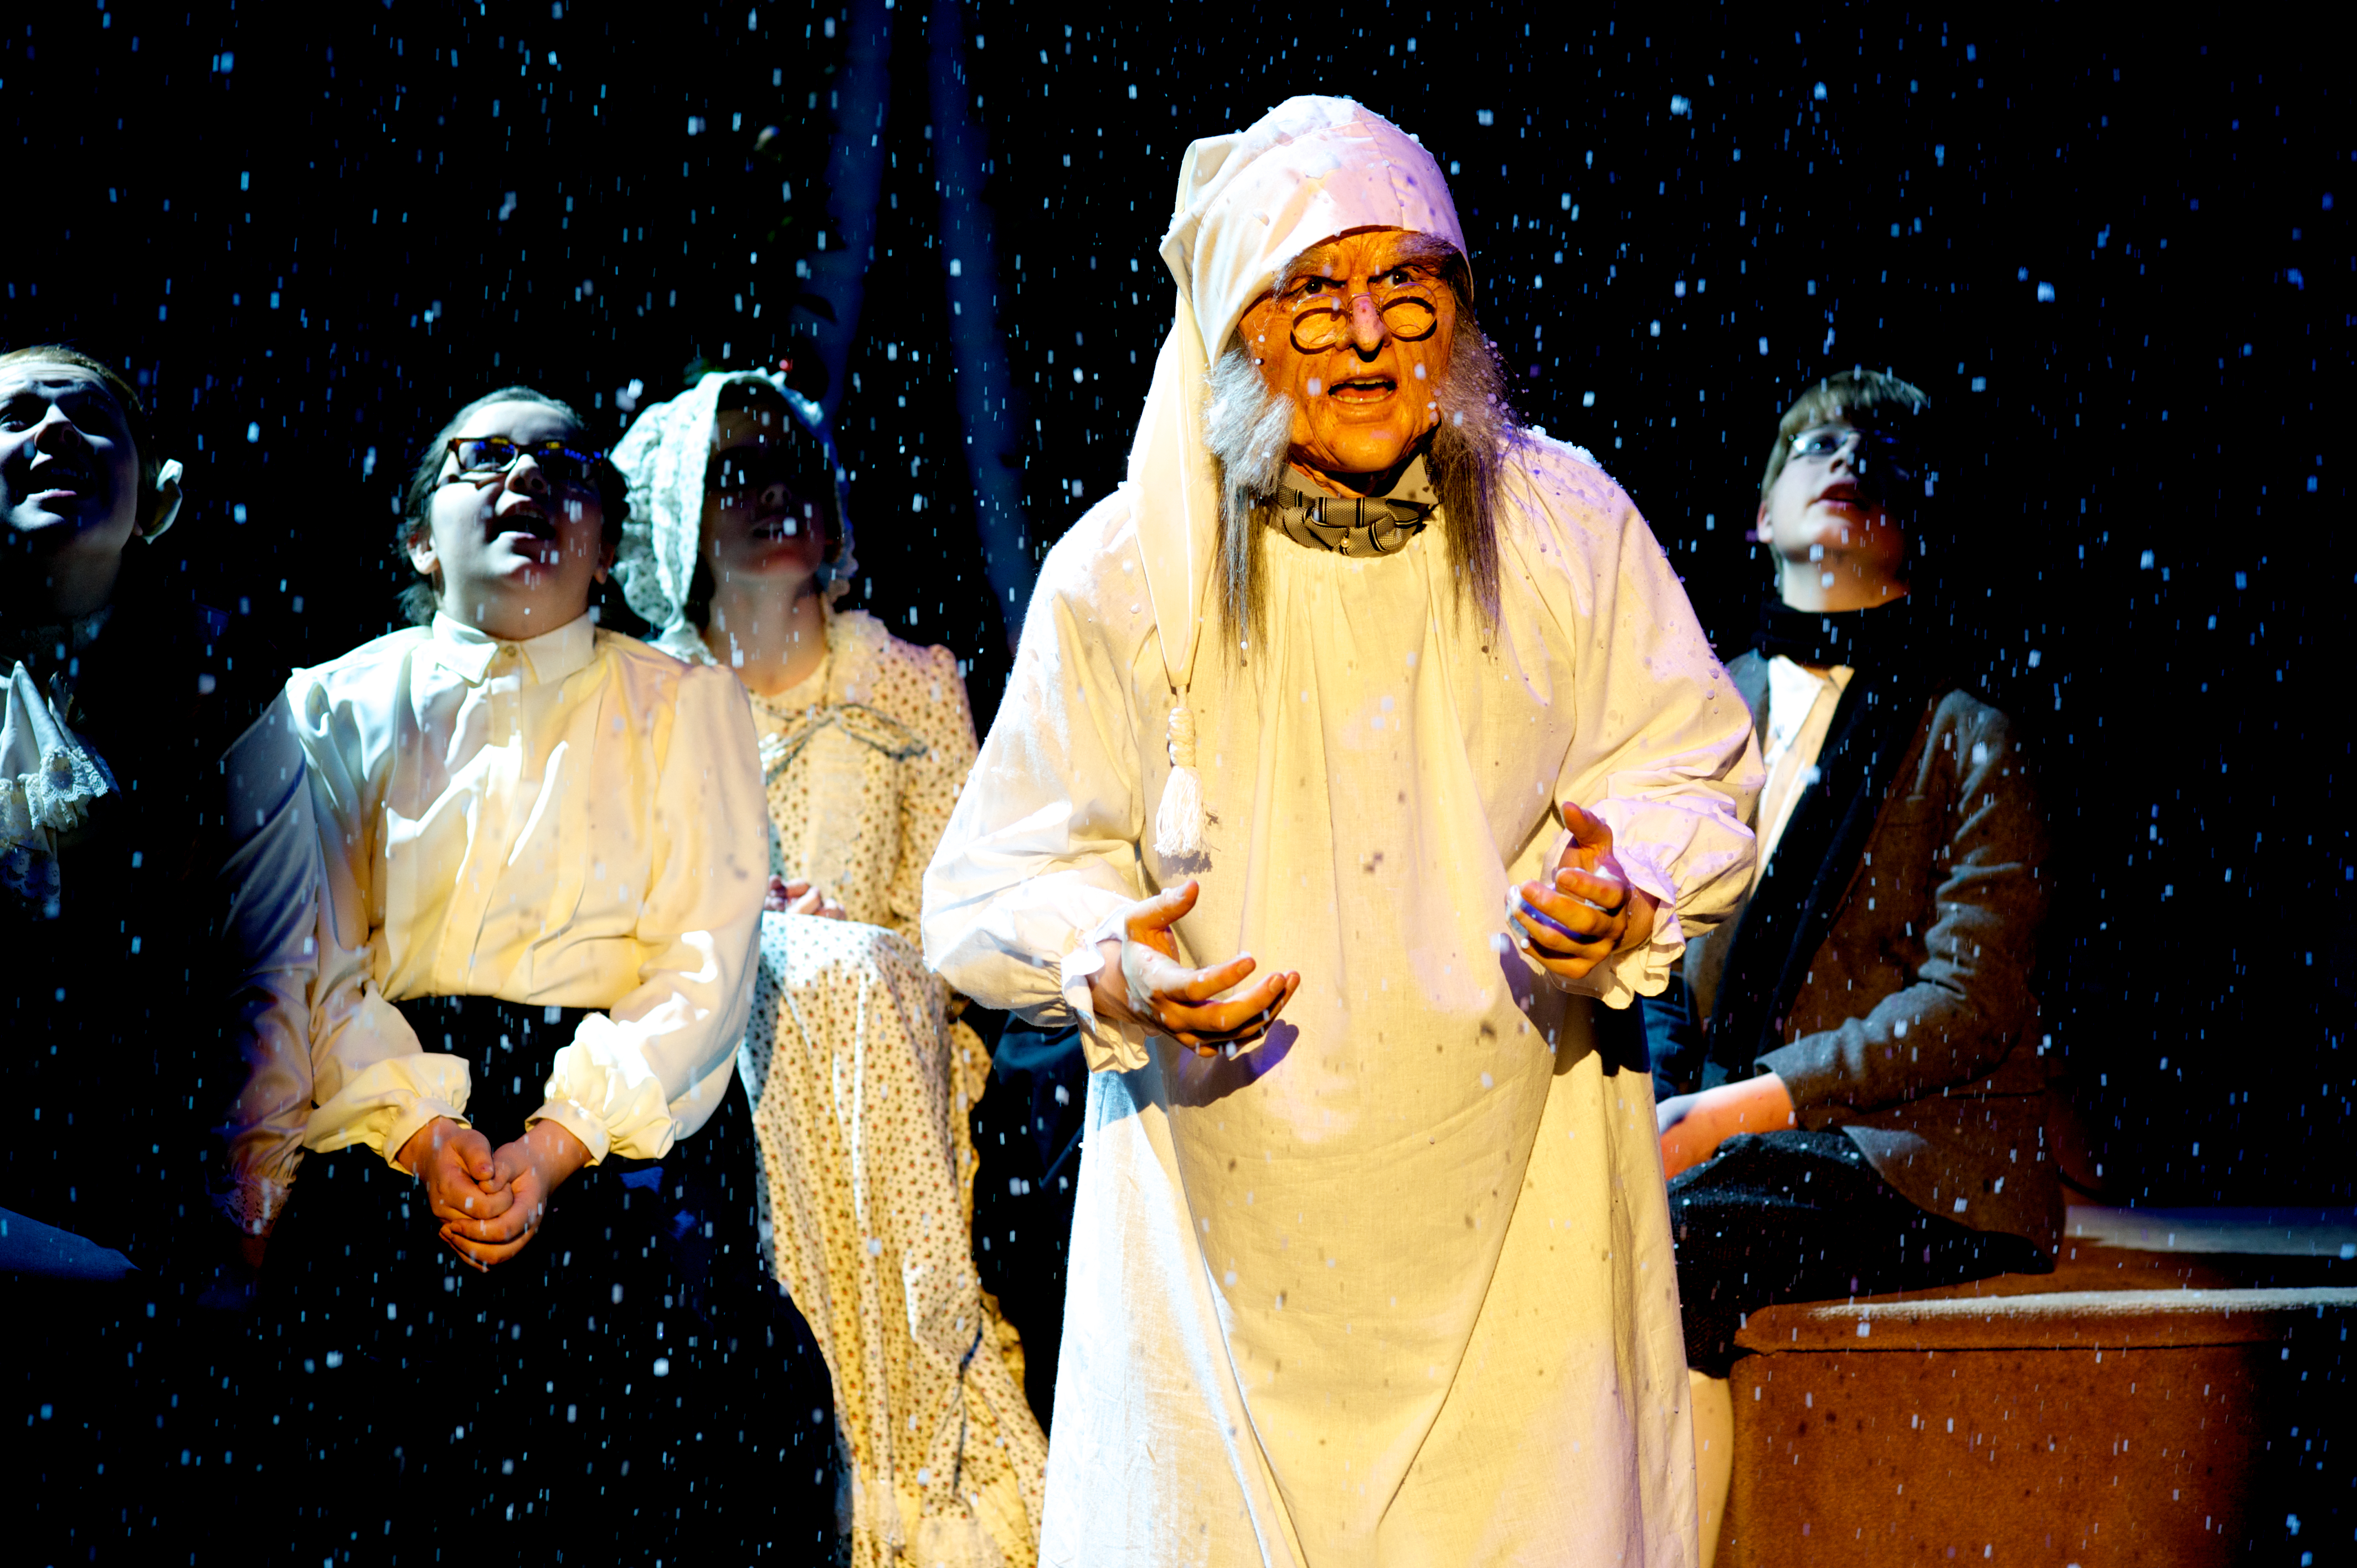
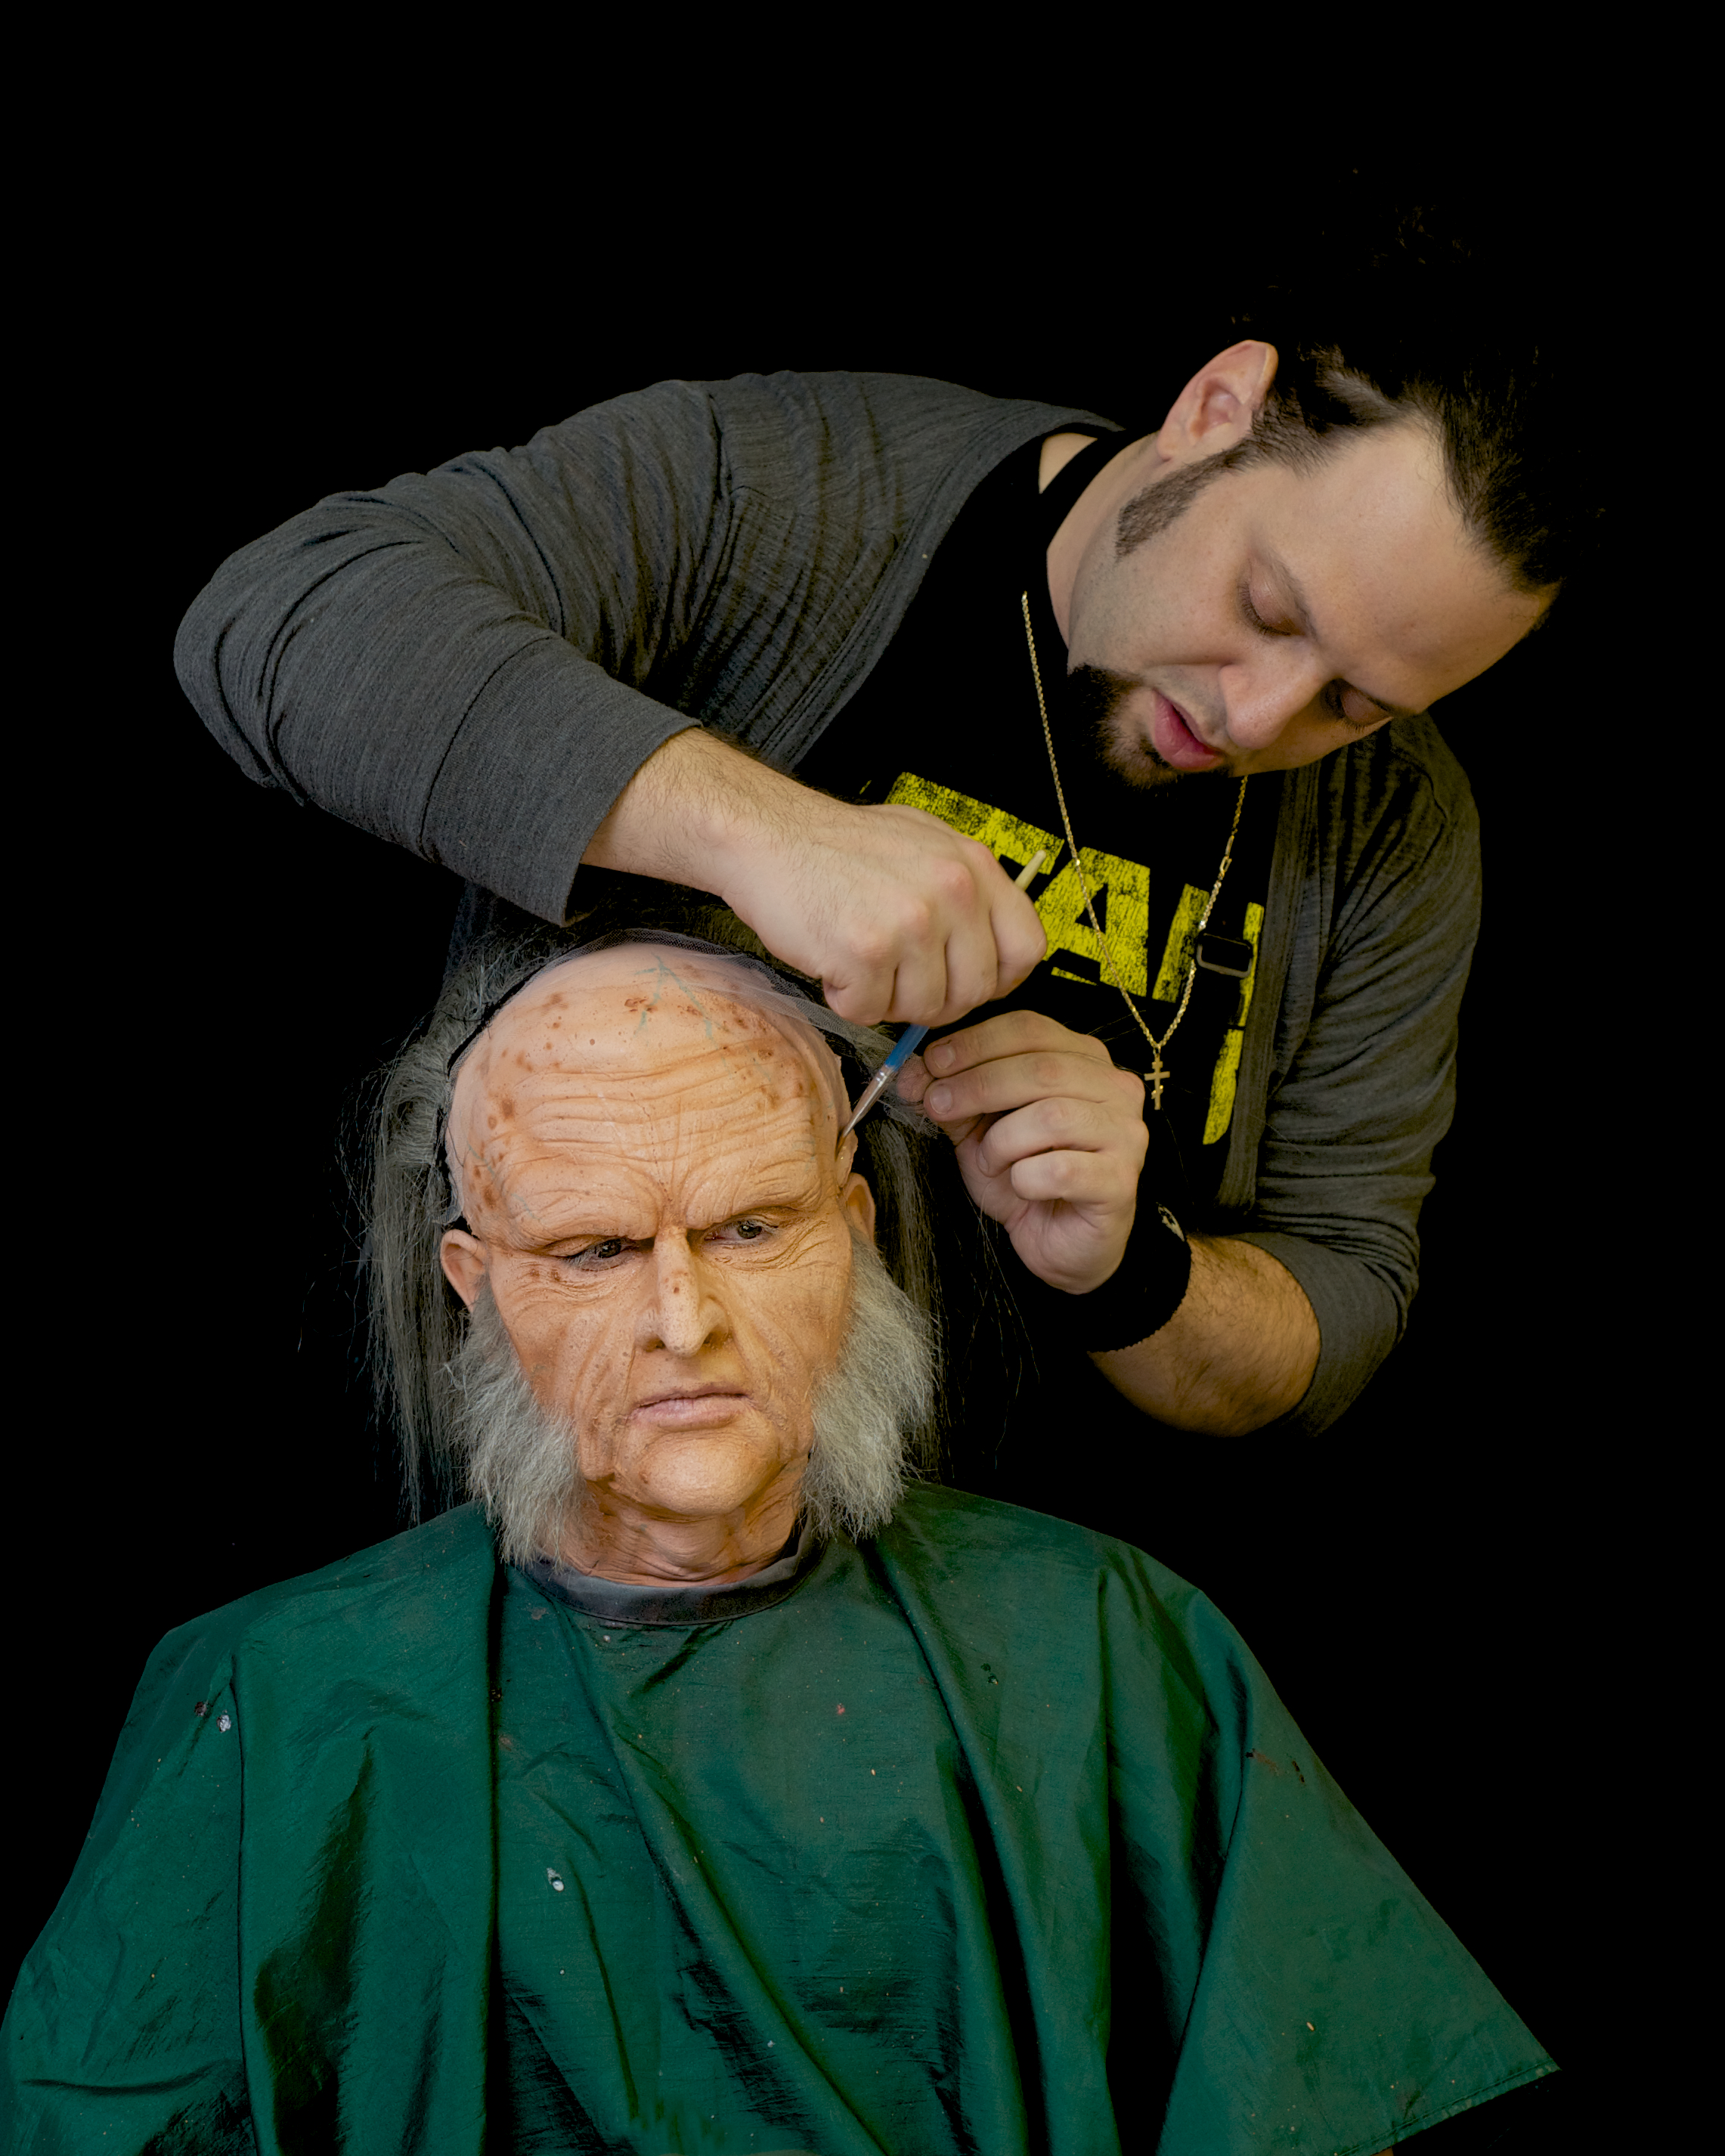
I know this is a late update to the Christmas season, but I felt it was worth publishing. I had a wonderful opportunity to photograph the special effects make-up process of RJ Haddy of RADFX Company in Charleston West, Virginia. For those of you who are not familiar with RJ’s work, he was a finalist and fan favorite on the SyFy Channel’s second season of Faceoff. RJ (pictured below) came to Wheelersburg, Ohio to transform Jordan Nickles, a 19 year old actor, in to the elder Ebenezer Scrooge for JAX Theatre presentation of A Christmas Carol: The Musical.

RJ, in the weeks preceding the play, had taken a plaster mold of Jordan’s face so he could design the foam latex mask to apply to Jordan’s face to make him look “old”. Below is Jordan.

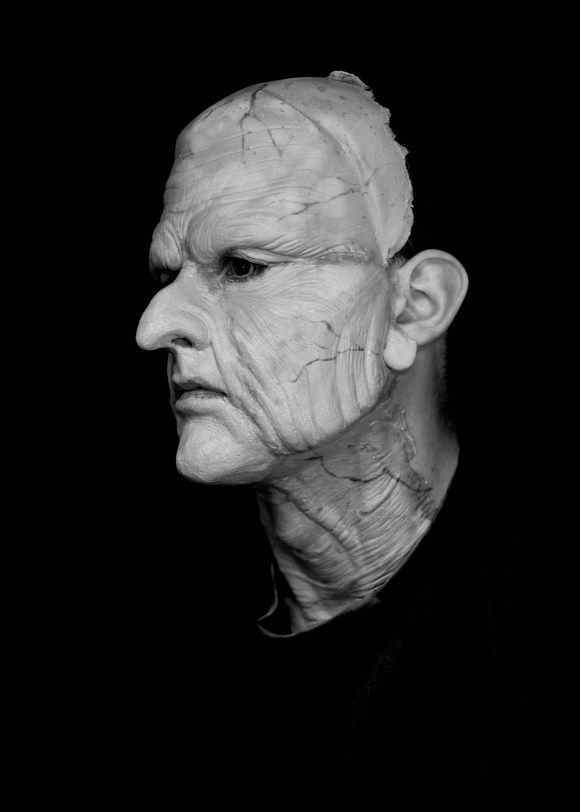
The mask was a 6 piece foam latex prosthetic that was applied one piece at a time and then the “seams” were glued and blended together so it would appear as one piece. The “mask” moved naturally with Jordan’s facial expressions and was very realistic in appearance.
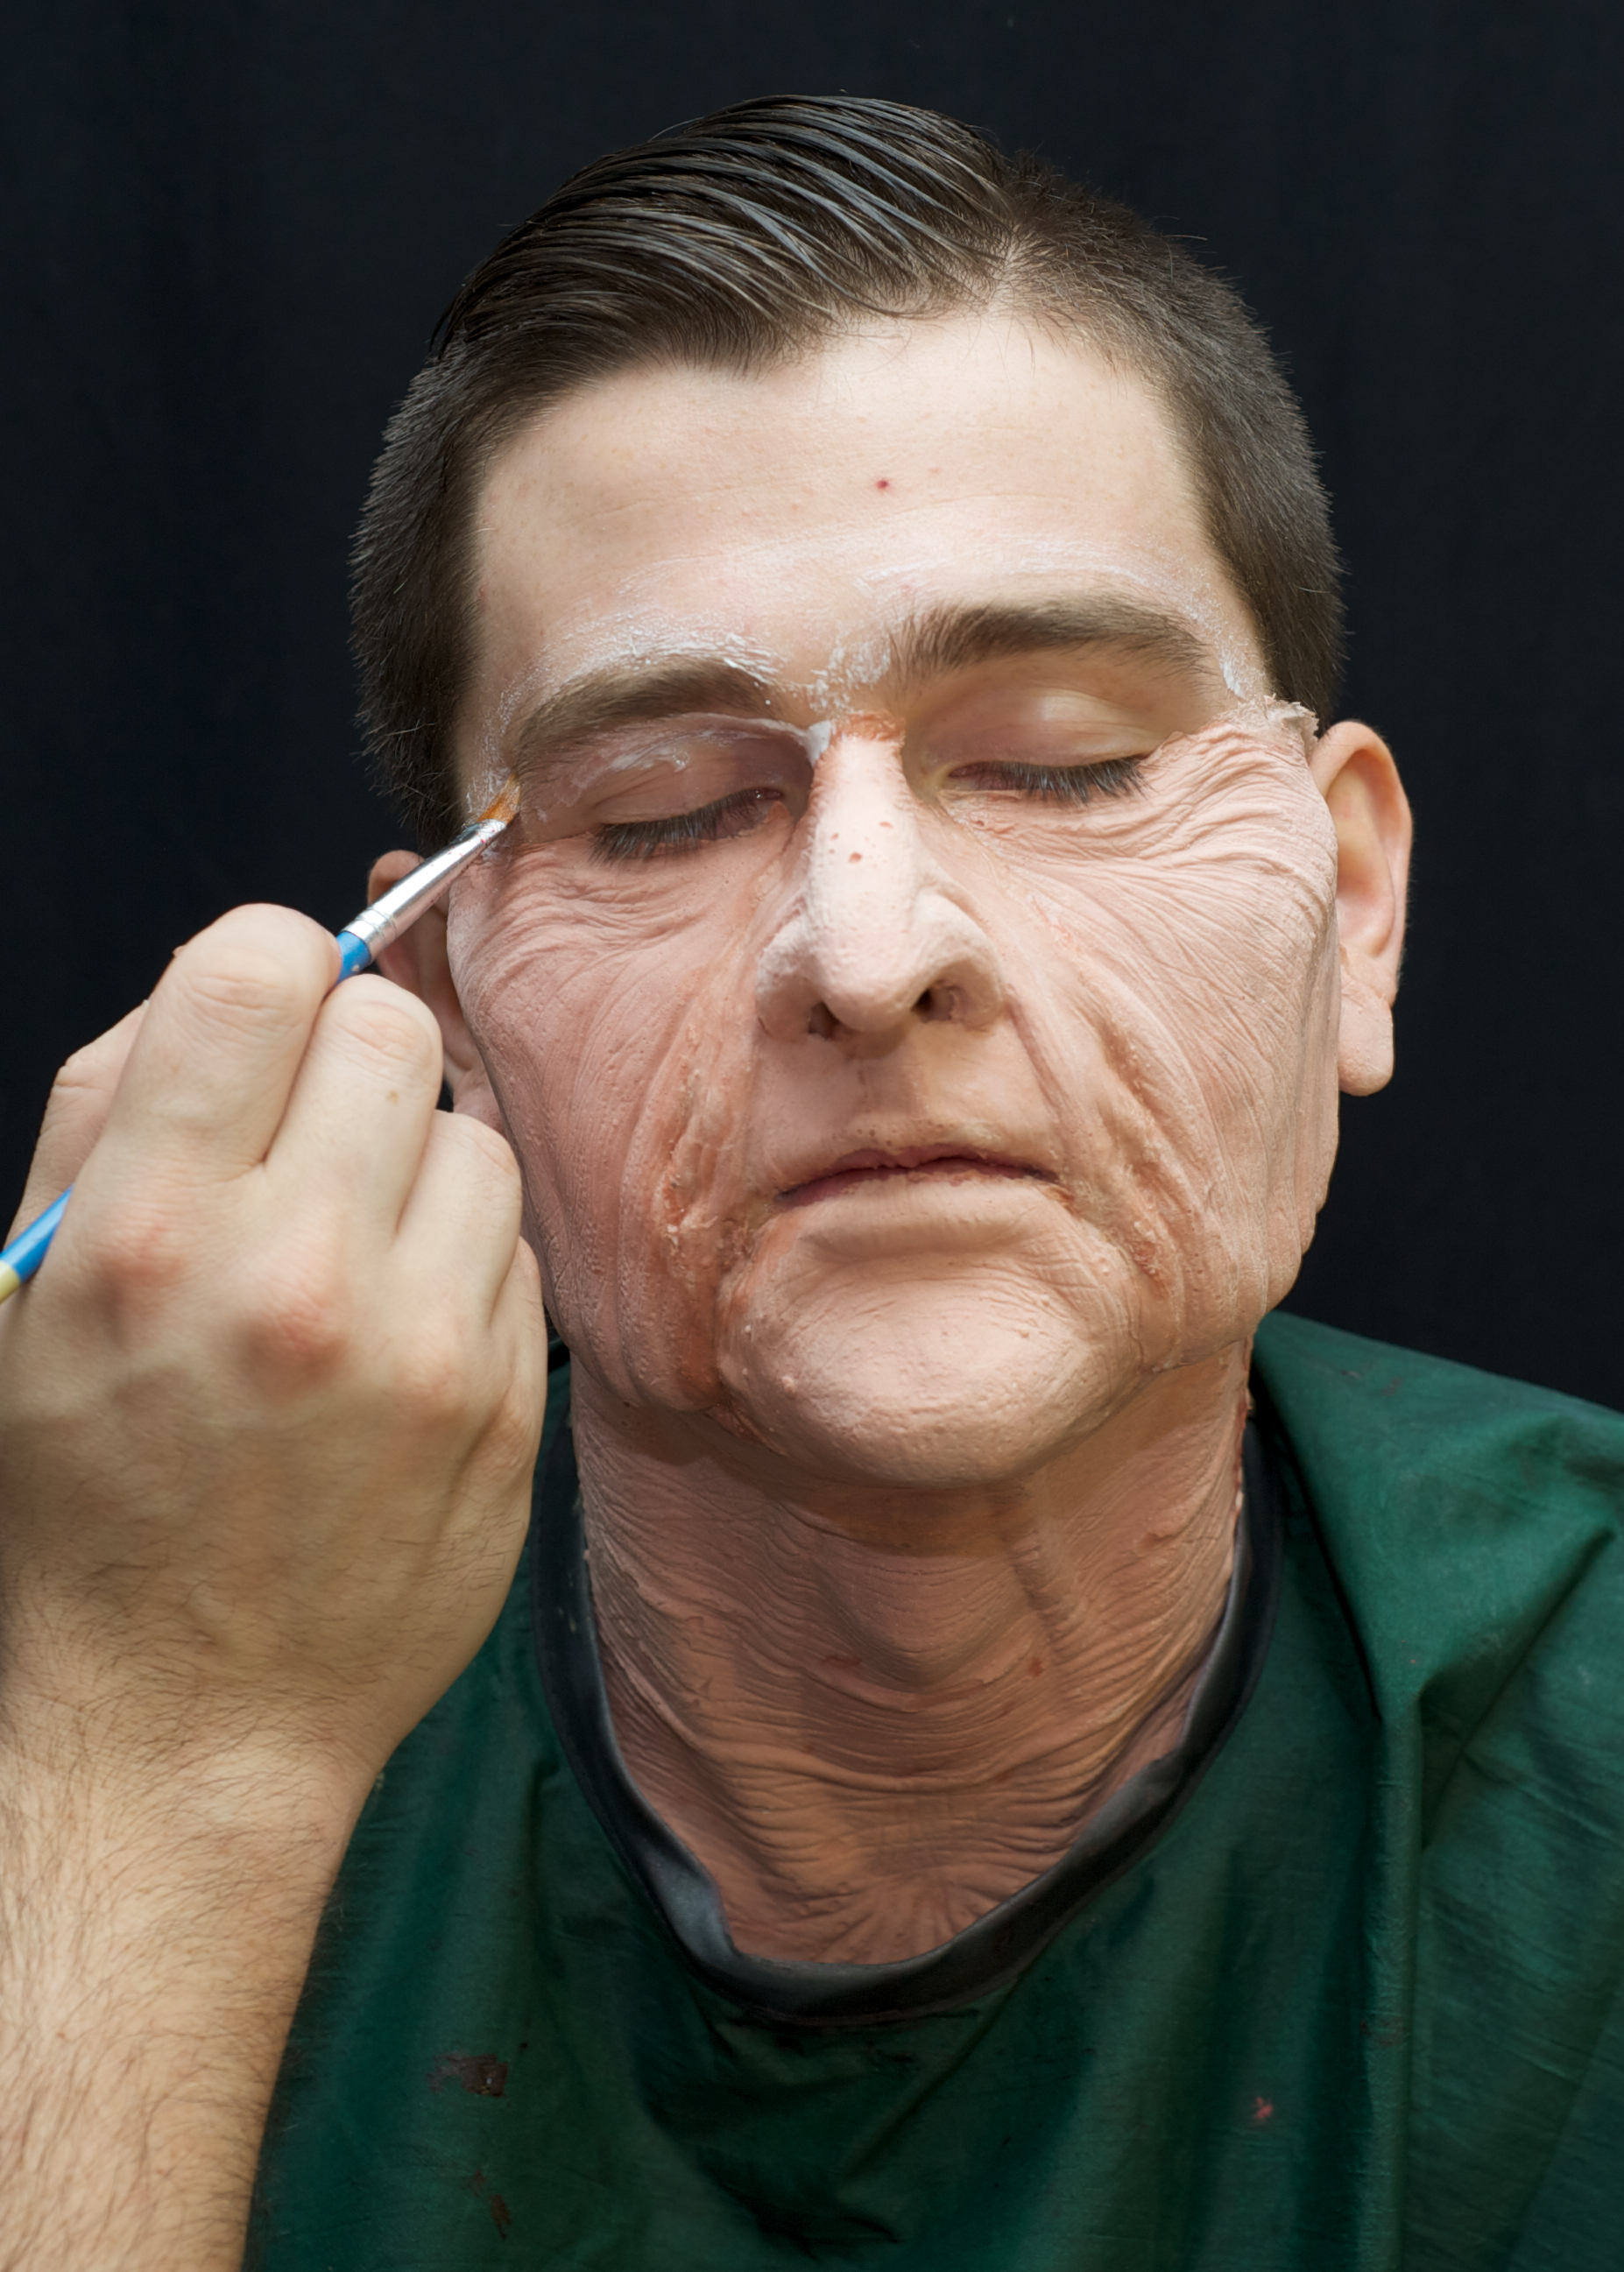
The next photos show how the mask application progressed. The entire process took 4 hours to complete. If you want to view the video of the entire process (8 minutes) go to this link: http://www.youtube.com/watch?v=m2l0BF8ieXc

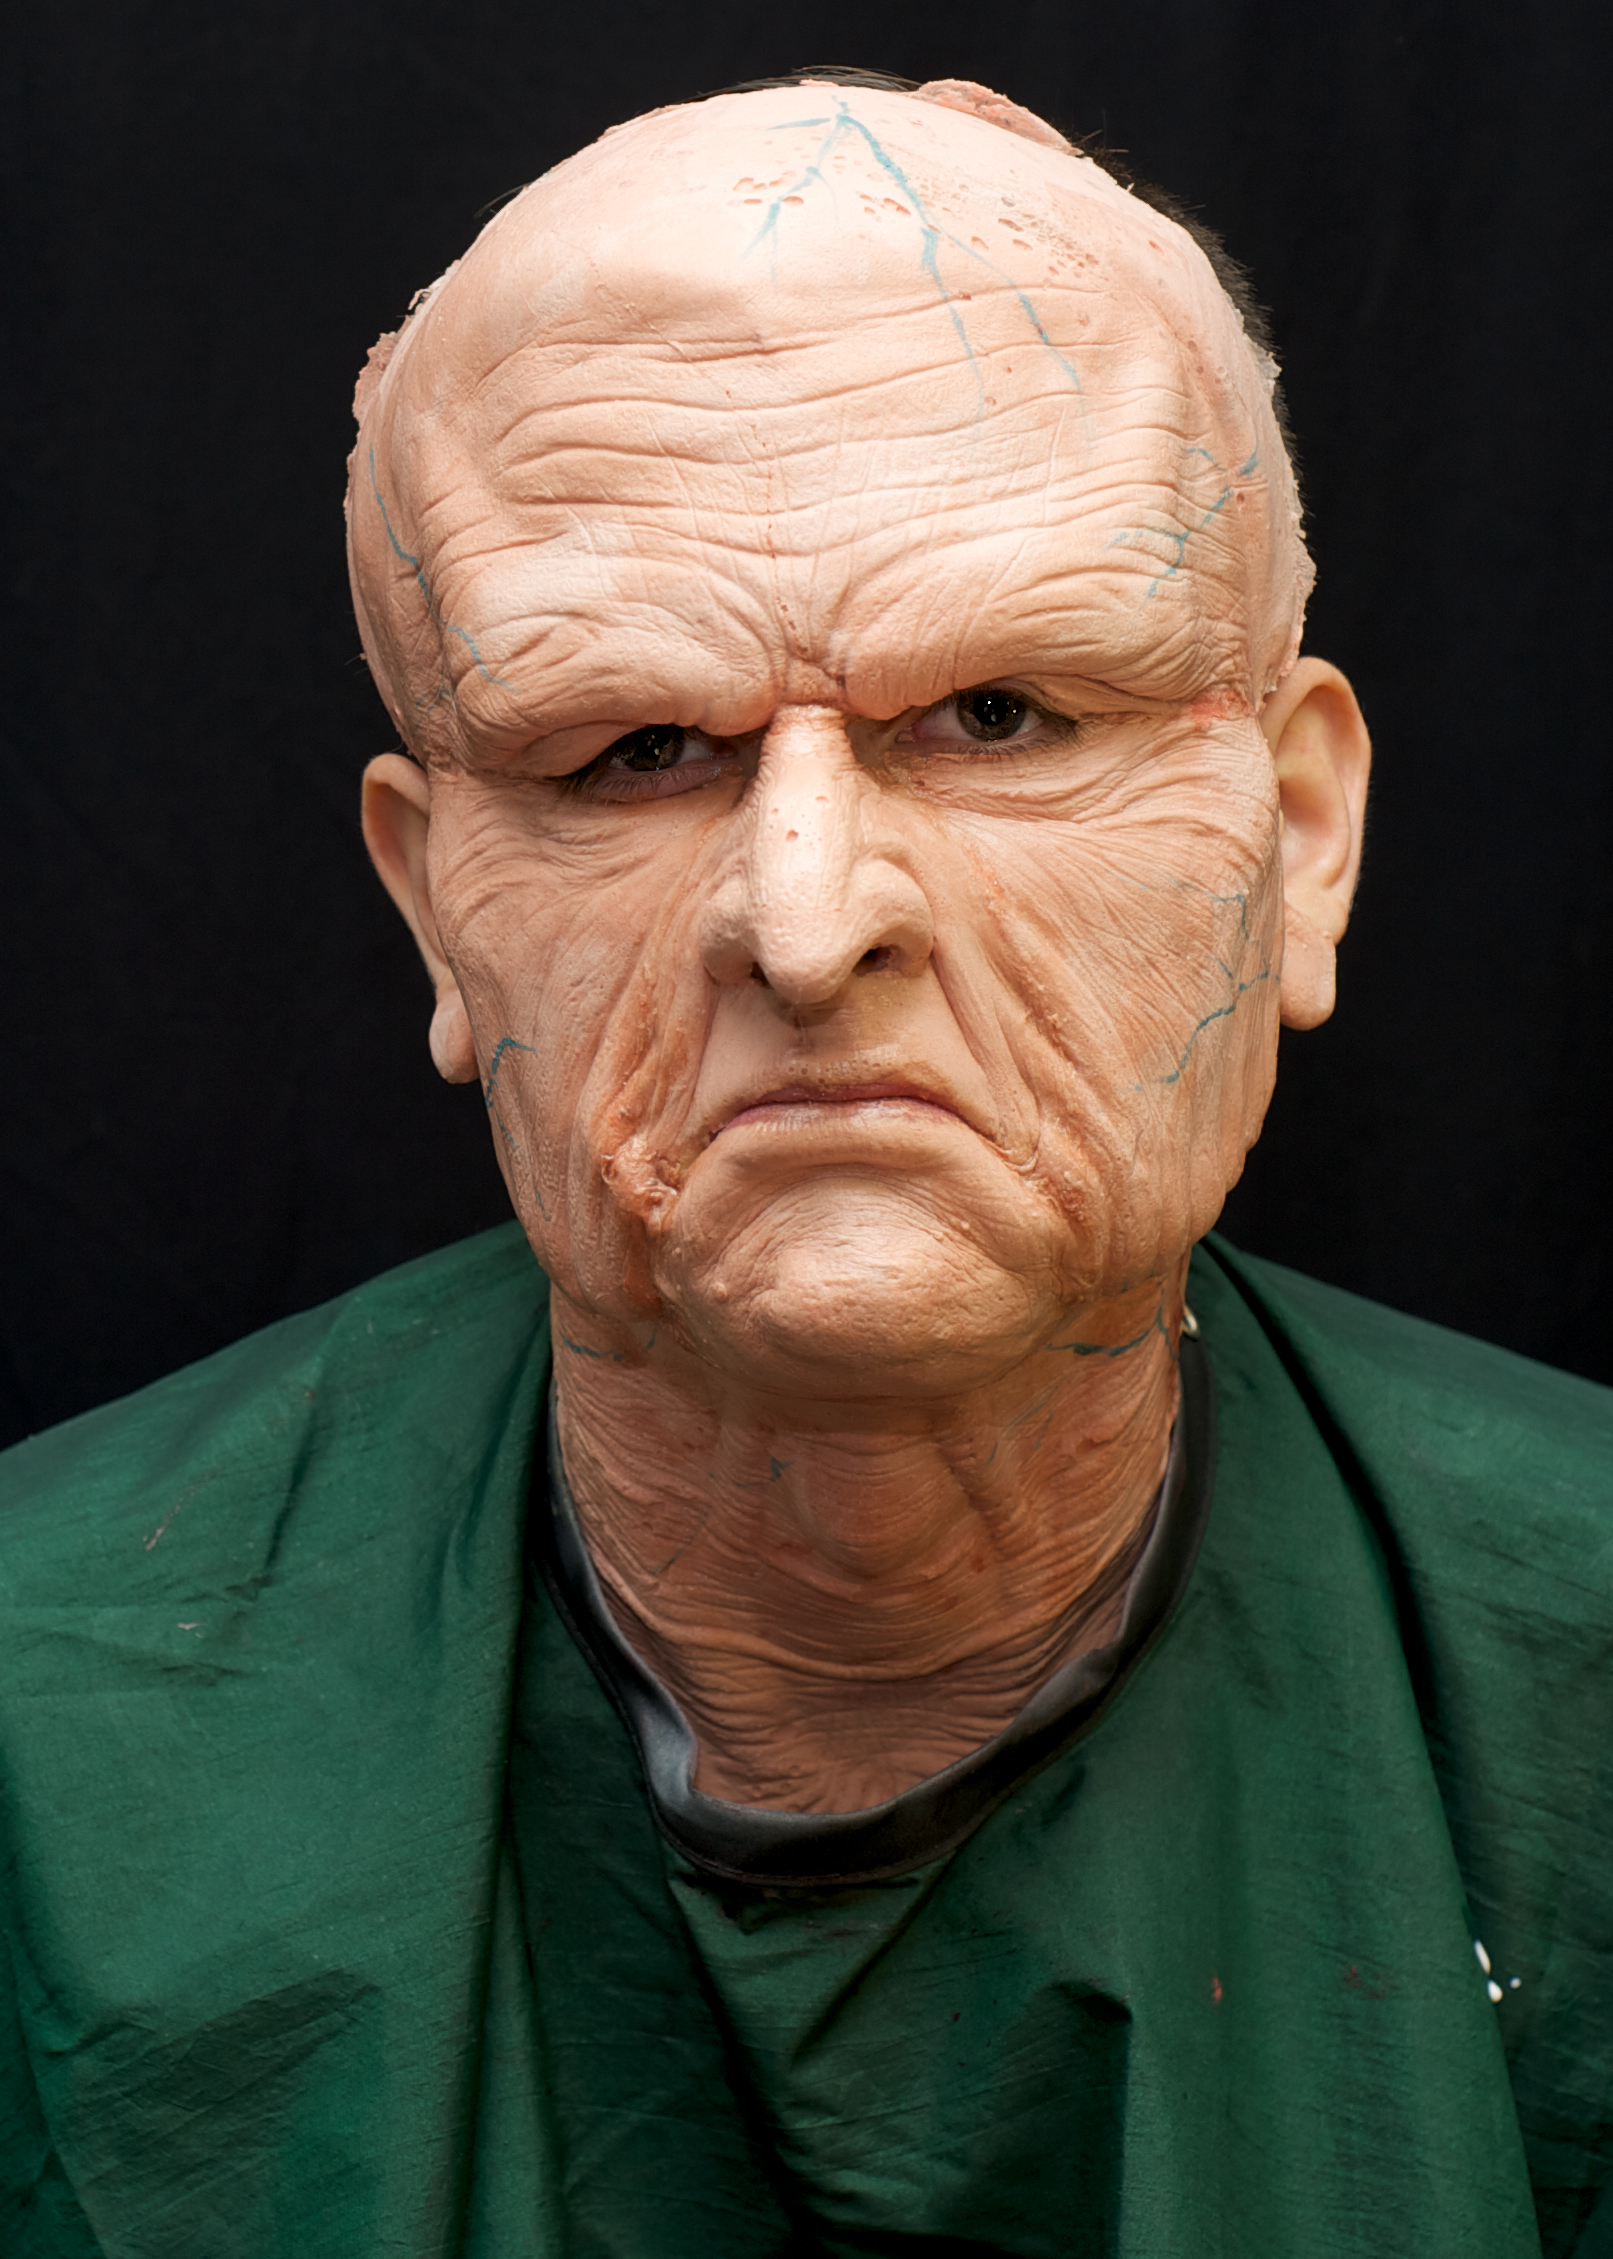
Veins and age spots were added to make the skin appear more realistic.

The following sequence is the application of the hair, eyebrows, and sideburns.
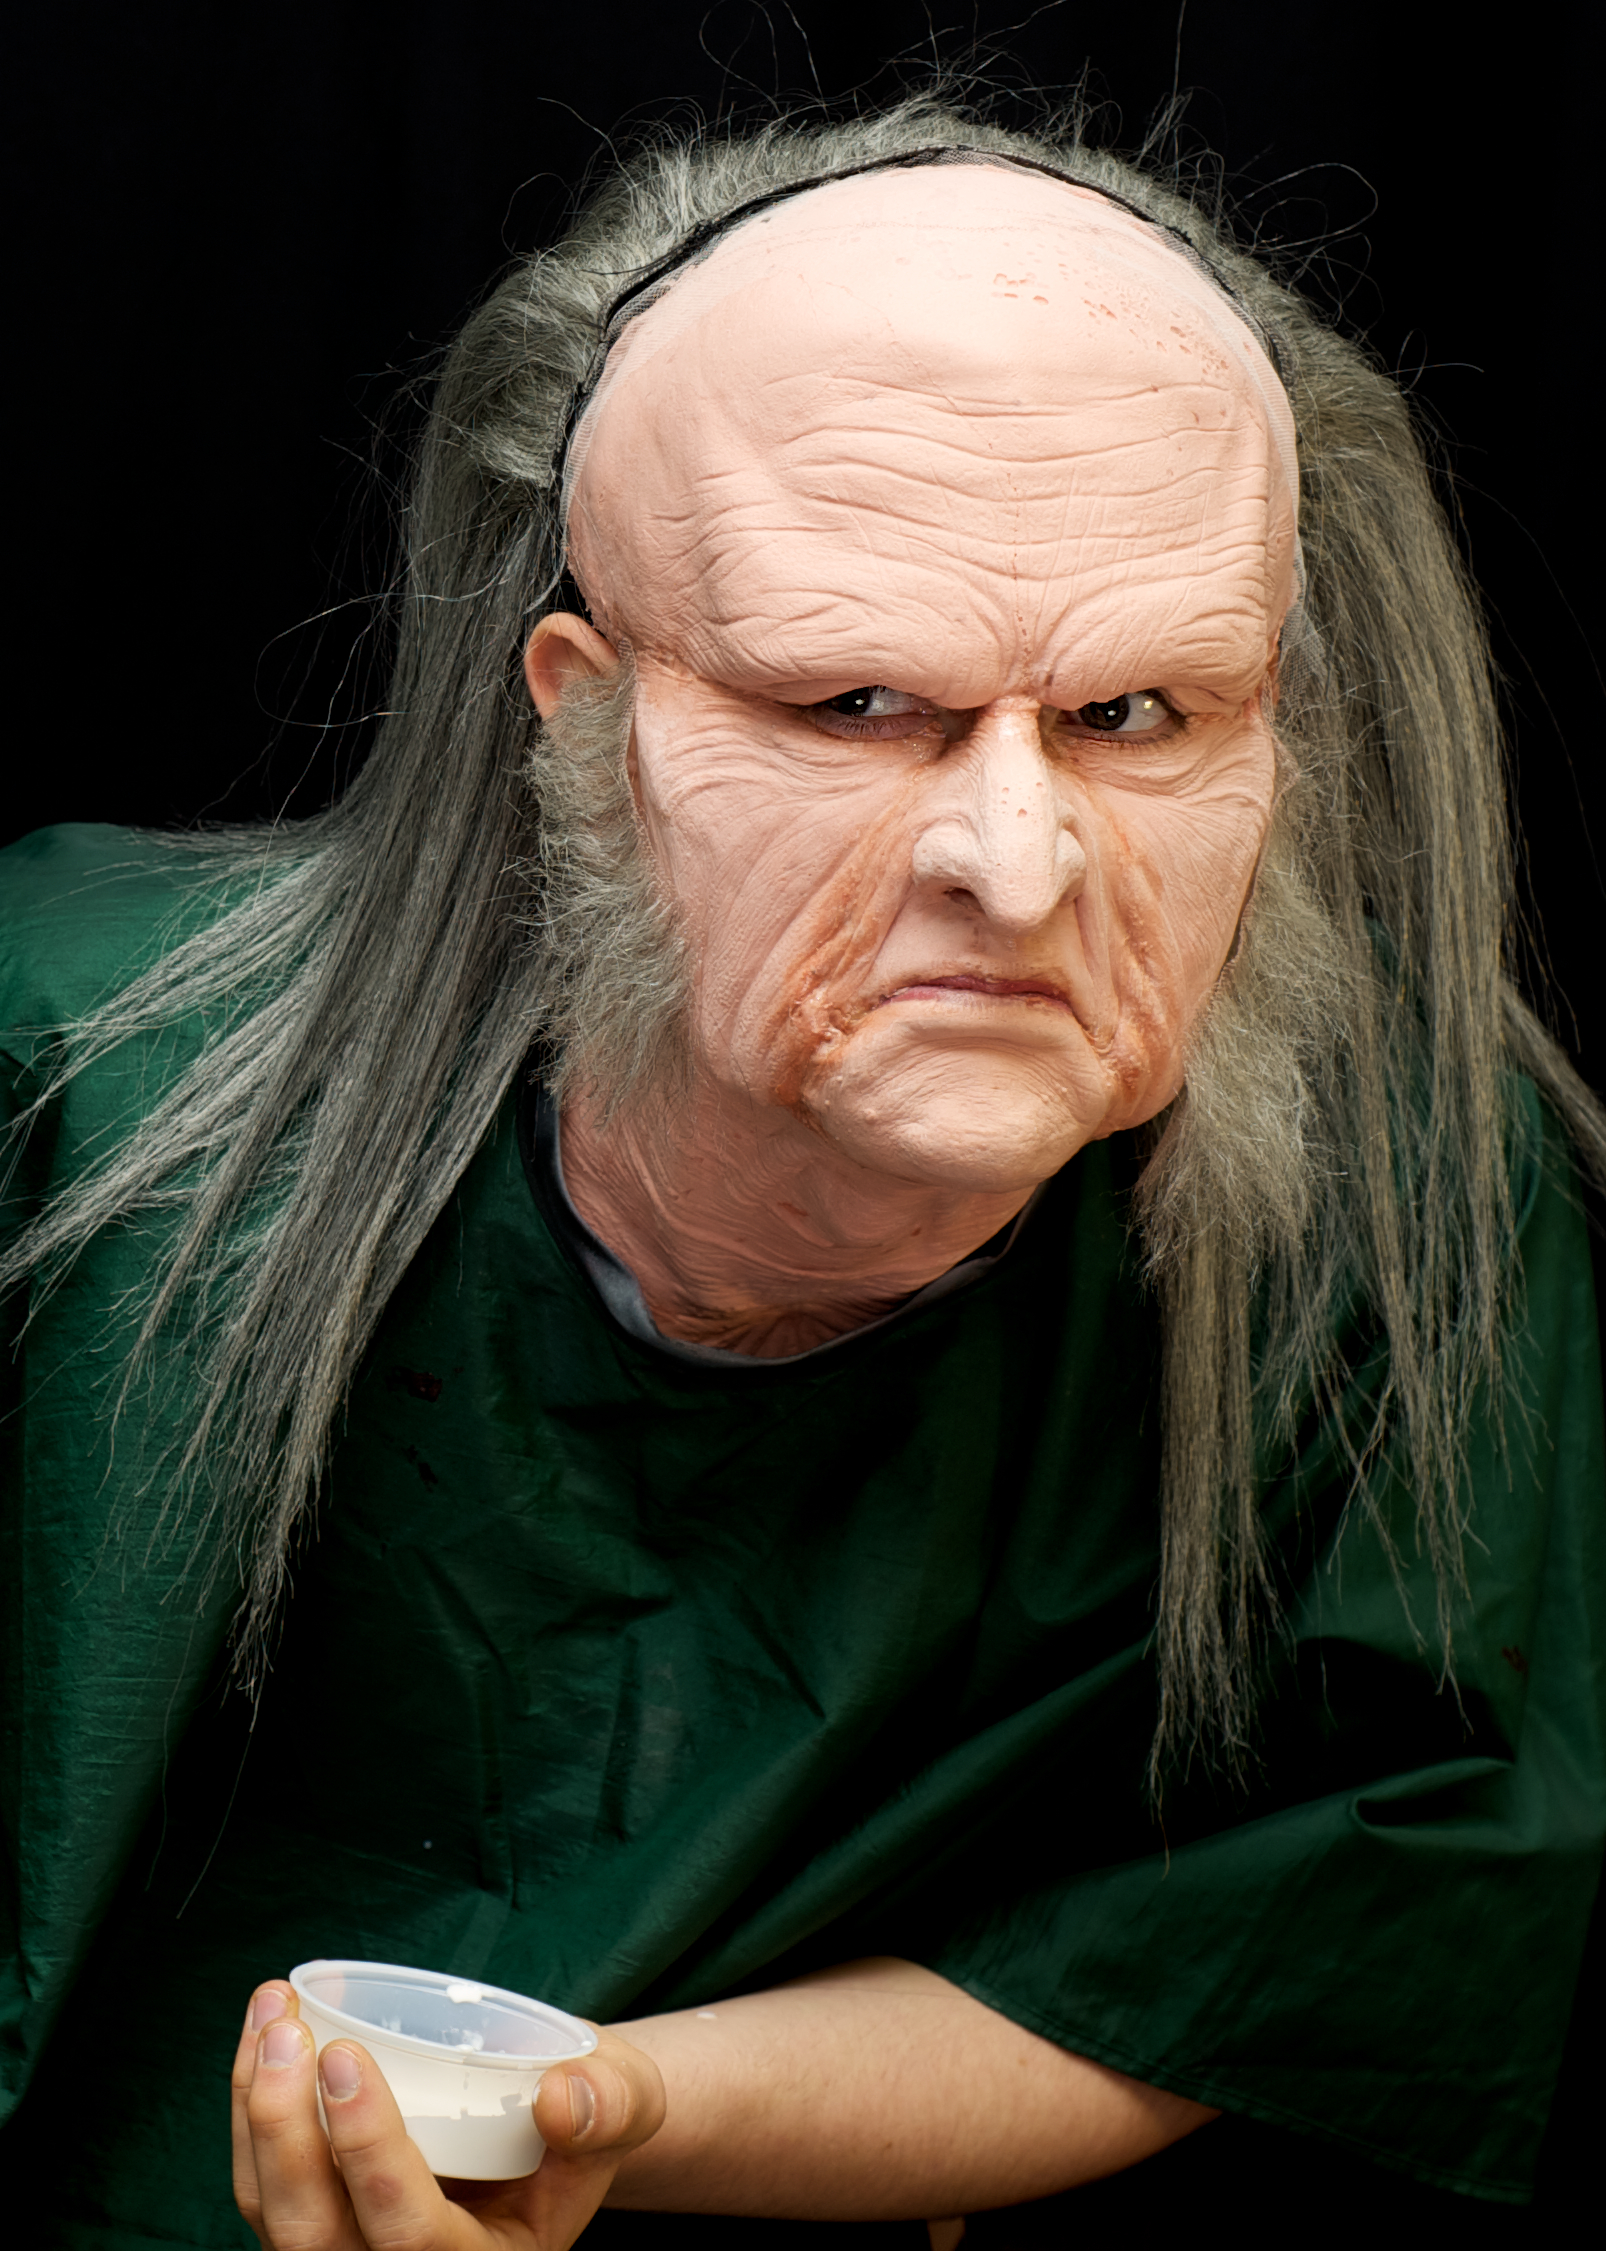
I enjoyed, very much, photographing and video taping this process. RJ is a wonderful to work with. Jordan is a very bright and talented young man and he has made JAX Theatre a wonderful establishment and had brought a variety of cultural experiences to our area. 
Jordan and RJ posing and showing off the final results.
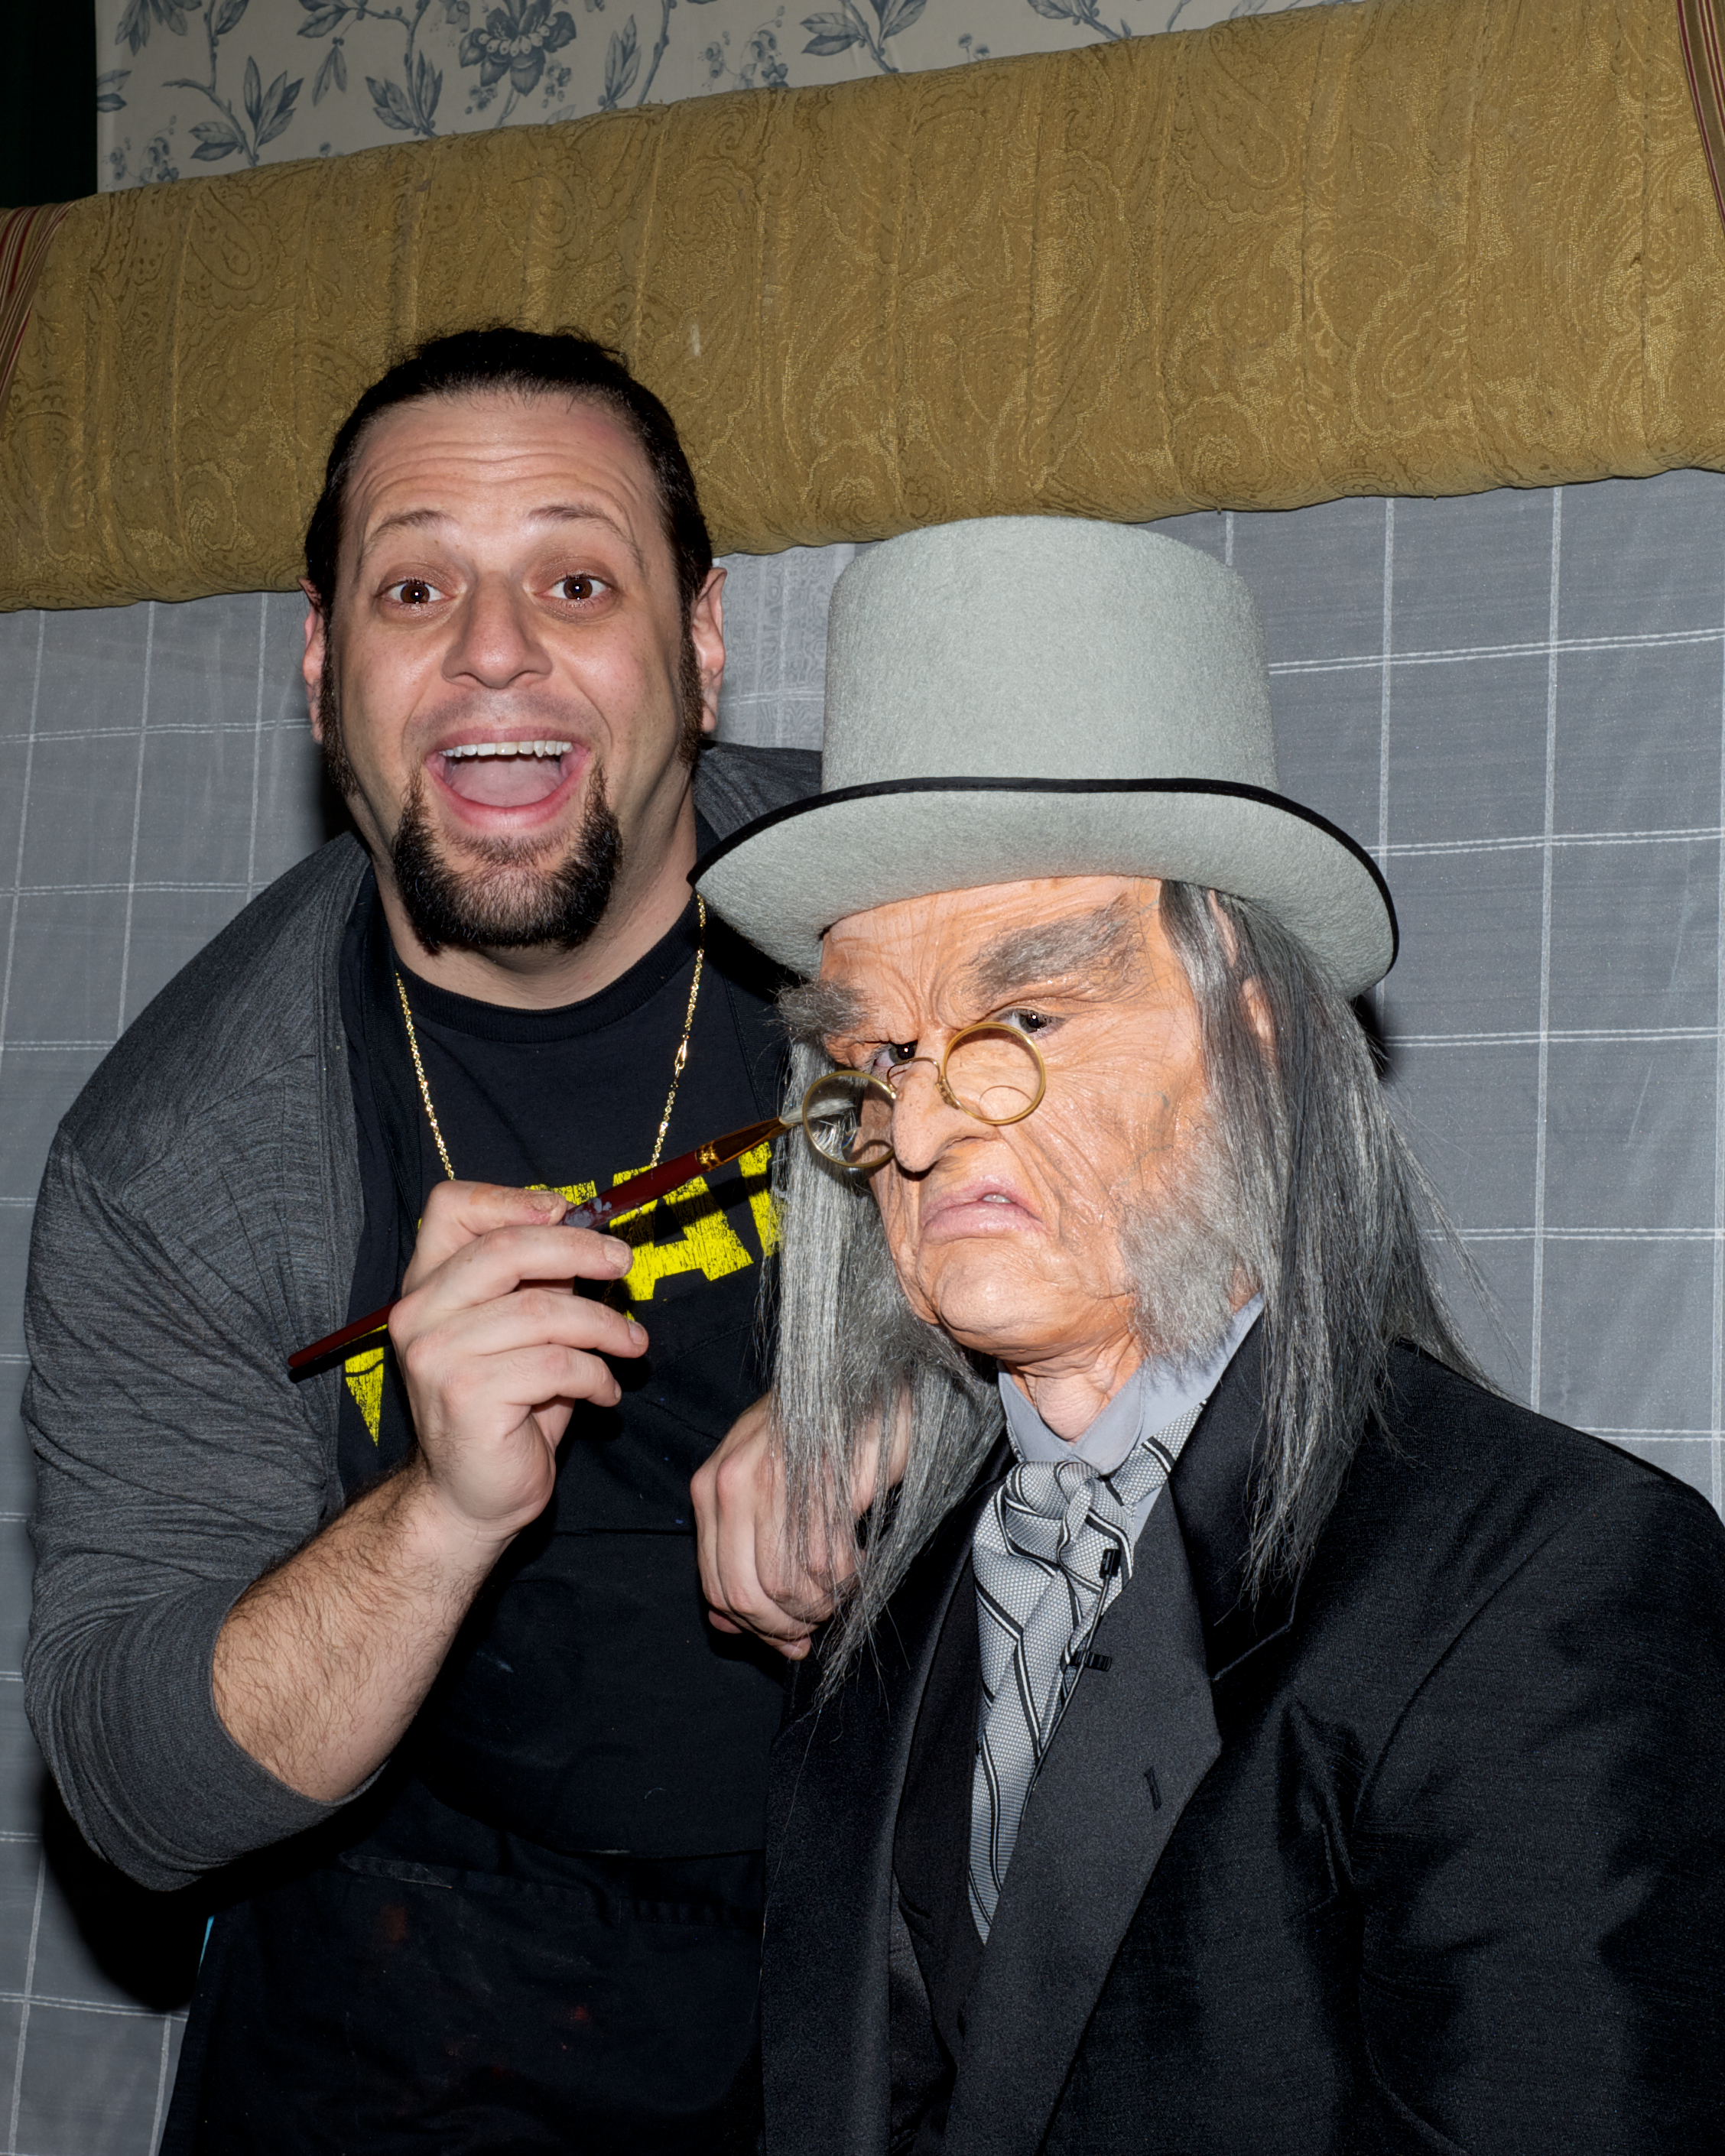
I have to include one more shot…This is my favorite shot of the two of them.

I hope you enjoyed this visual journey of The Making of Scrooge. This was such a fun assignment that I hated not to share it with everyone.
Stay tuned for my next adventure!
