True Lies in Photography

The world of photography has seen great changes over the last couple of decades. With the advances of digital photography and the increasing amount of editing software available, it is difficult to separate photographic fact from fiction. Recently, Mike Moats and Rick Sammon have had topics in their groups about whether members are purists or enjoy creativity.
Mike shared his experience of an individual who criticized his use of external programs to give his image a special look. Rick advocates for cropping and using programs to improve images. What about Ansel Adams? He was definitely the master of light; finding it, creating it, using it to make his photographs unique.
Photography, is it an art? Do photographers create? When is a photograph not a photograph? These are questions that have been tossed around for centuries! Think about double exposures, intentional camera movement, and dodging and burning. The photographer has a vision of what their photograph should look like. To compare a photographer to a painter might be unfair, but the process is similar.
A painter, comes on a scene and chooses the color palette, brushes, and type of medium to work with. The image is created with brush strokes on canvas, paper, or other medium. The painter decides the composition and the point of view they want to show. They may change their perspective (edit their work) while they are painting; a few brush strokes and the painting will look completely different. The painter/artist decides when they are finished. The thought process for the photographer is similar, but the tools are completely different.
The photographer approaches the same scene, makes a lens choice, sets the exposure, and studies the composition before pressing the shutter. Rick Sammon talks about using your camera like a drone; move it around and see what different angles look like. Zoom in, out, move forward, backward, turn the camera, try different angles, sometimes it works, sometimes it doesn’t. Not doing these activities will result in missing a unique angle or composition. It has been said many times, “all photographers do is press a button,” but wait…after they press that button they go back to their “darkroom” or computer and work on the image. One of the keys to the creative process is editing.
Editing a photograph can be very simple, just a few adjustments to exposure, contrast, sharpening. There are those who think editing is difficult or challenging, but if it is not practiced, like anything else, it will continue to be daunting. Editing software is easy to come by and a lot of photographers have an arsenal at their disposal, but yet, photographs are placed in public viewing without any adjustments. It is sad…there are many good photographs posted daily, but they could be awesome images with a little work! Those photographs have great potential!
Potential, one must see the potential in an image…the one thing that makes the image unique/special. Taking a few minutes to work on a photograph can make all the difference. There is an article that talks about the artistic eye or creative mind. There are individuals who innately have this “gift;” those who lack the artistic eye can develop it if they work on it. Developing a creative mind takes much practice and dropping some of the preconceived notions/rules about photography. Sometimes it’s just a simple crop or a minor clone, or it could be a hard crop or big clone! Again, see the potential in an image. Creativity takes work. Creatively changing an image often results in the photographic “lie.” Is it still a photograph or an enhanced digital image? The art belongs to the photographer; it is their vision, their view of the world.
Pay attention to photographs you see every day. In the photograph below, clearly the star of the show is the waterlily and the reflections. The photograph was taken at the maximum focal distance and the flower was in the middle of the pond. Take the shot or walk away? This was a single frame. It took work to make the photograph that was visualized at the time the button was pressed. Many pass up the opportunity to go the extra mile to make an image special. The final result? Is it an accurate depiction of the scene or is it a lie?

Focus Stacking

Image Created Using Focus Stacking
I decided to try focus stacking. Focus stacking is when you take a series of images and you focus on one section of the image at a time, then save them as PSD images. The key is to have your camera on a tripod so you do not change position.
Open the images then go to File>Scripts>Load Files into Stacks. After you stack the files you go to Edit>Auto-Blend-Layers.
The image will be in focus throughout.
This was fun to try. I will have to try it again sometime.
Nature’s Imperfections

When photographing nature we encounter imperfect subjects. It takes a little patience and imagination to make corrections to an image after it’s captured.
While looking through images that were photographed this summer, this one was intriguing. The bug on the coneflower was lost in the shadows and was very much in focus.
Bug lost in the shadows
The shadow slider in Lightroom opened the area and other adjustments were made to the image. Then the gap on the left kept screaming! Cropping did not help, so the image was edited in Photoshop (Photoshop is used as a plug-in to Lightroom). The magic brush tool was used to capture a piece of the adjacent area and a layer was created of that selection. The petal was turned and transformed, then a layer mask was applied so the petal could be blended in with the rest of the flower.

A petal was added to the left to fill the gap
Then the space on the right was an attention grabber. The same technique was applied. After the second petal was added the image was saved in Lightroom and the radial filter and adjustment brush was used to make sure the bug was the central focus of the image.
The gap on the right was filled with data captured from the adjacent area
Nature is imperfect and as the old margarine commercial says, “It’s not nice to fool Mother Nature!” there are those who believe that you capture the image “as is” and make no changes. Making changes to an image that is imperfect has it’s merit. The photographer has to make the decision if the risk of “fooling Mother Nature” is worth taking!
Image Enhancement

Since posting my blog on using On1 10, I have received approval to be an On1 Affiliate. You can click the link at the bottom of my post to learn more about the On 1 software.


On1 10 was released in November. I have been an On1 user since about version 6. I received a free version of Perfect Effects for attending a Kelby Photoshop Workshop. I thought it was odd they had another company promoting their products at the workshop, but I took the time to watch the demo during our lunch break.
What I found out was On1 can be used as a plug-in or as a stand alone software. I have used it both ways. I make my adjustments in Lightroom then move my image over to On1 Effects to further process my image.
For me On1 is a very simple way to enhance my images using the filters they have built into the program. I am able to layer and mask my images to bring out the details I want or to add in textures or other color enhancements to make my images stand out. And as an O1 user, I receive several preset packages throughout the year. Most of the time I create my own images, but I also try the others out.
My favorite adjustments in On1 Effects are the Amazing Detail Finder located under the sharpening tab and clarity under the tone enhancement tab. I find that these two adjustments bring out details in my images that I may have not noticed.


I use a Nikon D800E DSLR and shoot in RAW. The image above was taken with a Tamron 28 -75mm f/2.8 lens. My settings were ISO 320, f/11, 28mm, 1/160 sec. The light was behind me and it was about 4:00 in the afternoon. While I was happy with my original image I decided to work with it in On1 Effects. I used the adjustments I mentioned above and then worked on the highlights and shadows. On1 works similar to Photoshop in that you can make adjustments in different layers and if you are not happy with the change you can always go back and change or delete the layer. I also added a leather texture to the image which created a warm feel. When I photograph a landscape with an older structure, such as this grist mill, I prefer to age the photograph to give it character.


The image on the left is what was captured out of the camera. On the right I used the On1 Effects to pull out the detail in the bricks and to give the image a more surreal look. The time of day I captured my images made the reds pop. My settings were the same as in the images above. After I adjust in O1, it saves it back into my Lightroom catalog and I can


This is a collection of bottles in a potting shed. I thought this made a nice grouping. I did not move anything, just photographed it “as is”. My settings were ISO 800, f/4.0, 1/125, at 38mm with a Tamron 28 – 300mm. I like how the coarse detail in the wood was revealed using the Amazing Detail Finder. I also used a subtle HDR look in this image. I like photographs with lots of texture.
Many times On1 offers the On1 Effects module as a trial; that’s how I started. In the full suite they had enhance, portrait, resize, and B&W modules, too. I have used all of these at one time or another. What I like about On1 is it’s ease of use. I have produced several images with On1 that have been in exhibits, competitions, and have won awards.
Thanks for reading! Photography provides infinite opportunities for learning!

Before PhotoShop

On my recent trip to the Antique Mall in Medina, Ohio I happened upon a couple of items and my curiosity got the best of me. The box and sleeve were marked Spiratone and one was a Vignetar and the other was a Center Sharp Focus. They were both marked 52mm and I thought out loud, “Those would fit my 50mm lens!” So for about $23 I purchased both items. Spiratone was a manufacturer of camera accessories from about 1946 to 1990. Many of the younger photographers have never used or seen these types of filters because Photoshop or other programs can provide these effects. Photography, back in the day (LOL), was much more, how would I say this, accessory dependent than what we are now. In the darkroom you would achieve vignetting by cutting piece of paper and shooting your light beam from your enlarger through it. You dodged and burned using cutouts of the image. If you were lucky you could purchase filters to give you the star effects and soft focus for portraits (I still have mine!).
Today, I decided to “play” with my newly found items. I had to experiment with the f/stop settings and found if I kept it mid-range or stopped down all the way the effects were much better. The Vignetar is adjustable and will give you a smaller or larger vignette. The Center Sharp Focus had its challenges. If I shortened my depth of field (smaller f/stop) I had much more blur within the center part of the photograph; it produced shadows and reflections. If I narrowed my depth of field (higher f/stop) it gave a much better effect.
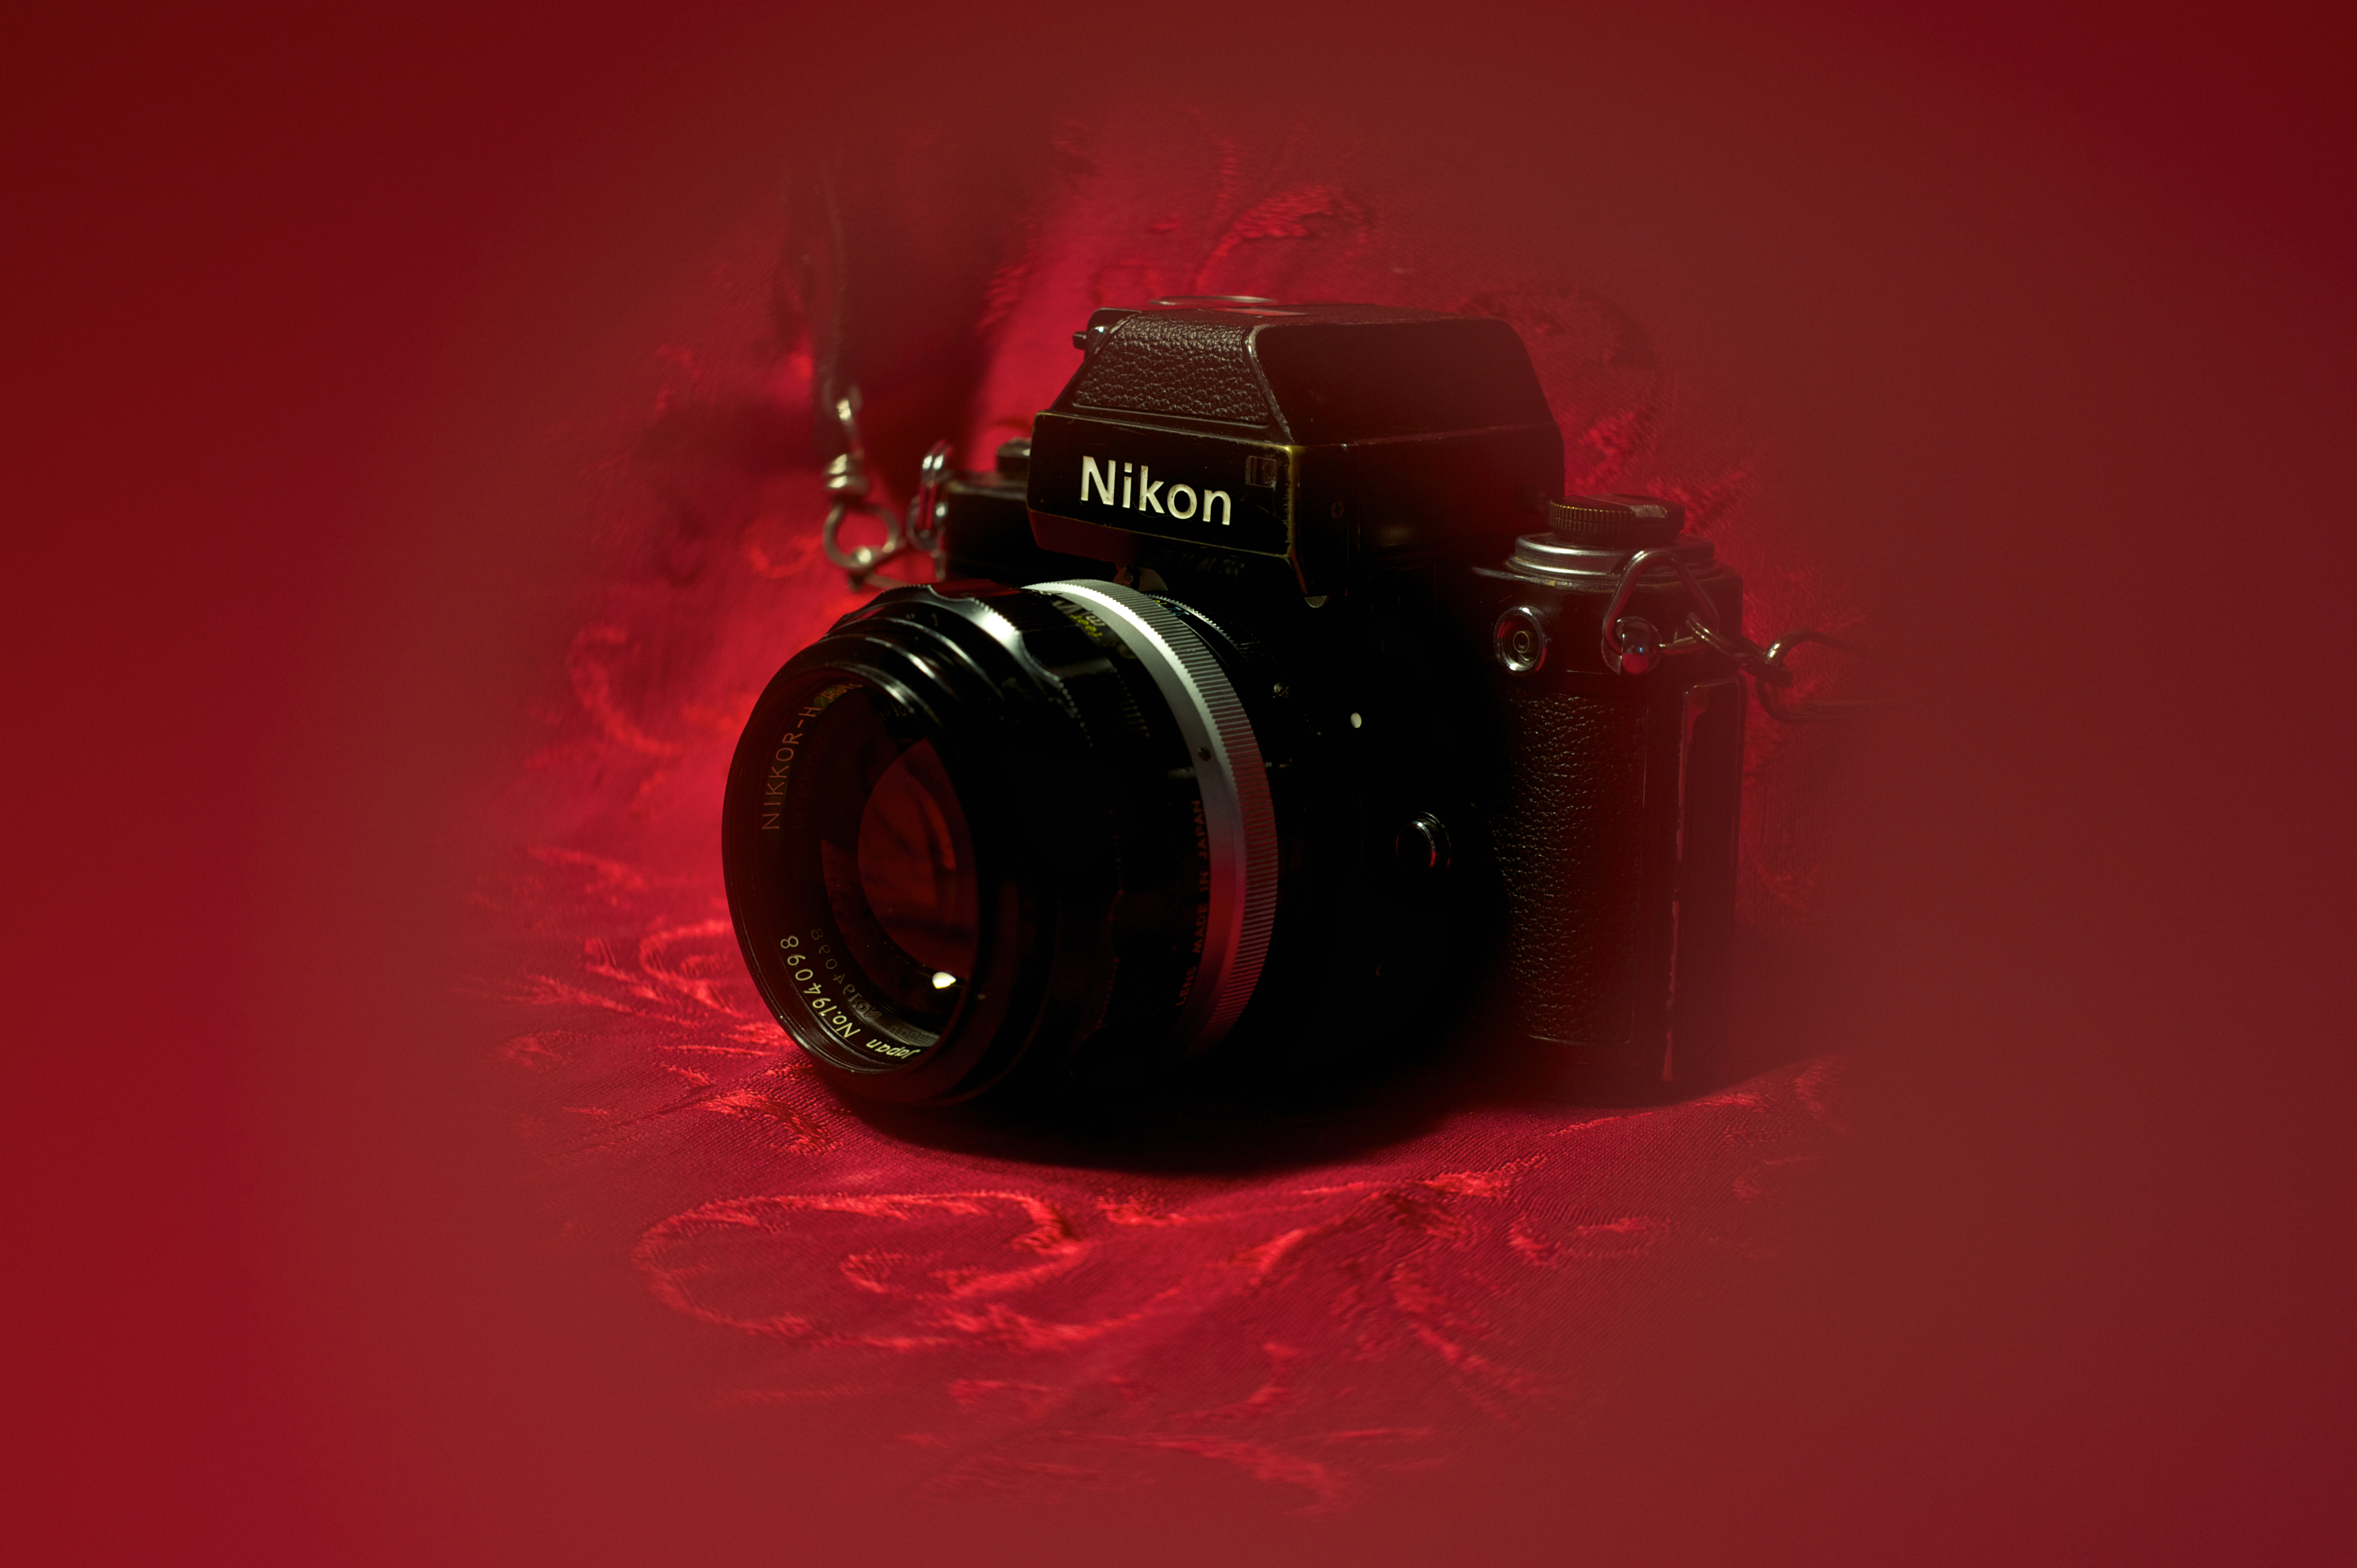

The first photo above (red background) is with the Vignetar and is a straight out of the camera exposure. The black and white version is the same photo using a blue filter effect in Aperture. I like how the camera fades into the background with this. This camera is my old Nikon F2 with the 85mm f/1.8 lens attached (Nikkor). These were photographed with my Nikon D700 and I used a tripod and I lighted this with white fluorescent lights on a pole lamp. My settings were ISO 200, f/6.3, and shutter 1/15.

The next image was taken with the Center Sharp Focus filter and was straight out of the camera. You can see the blur effect it made with the background while keeping the center focused. My settings for this were ISO 200, f/6.3, shutter 1/15.
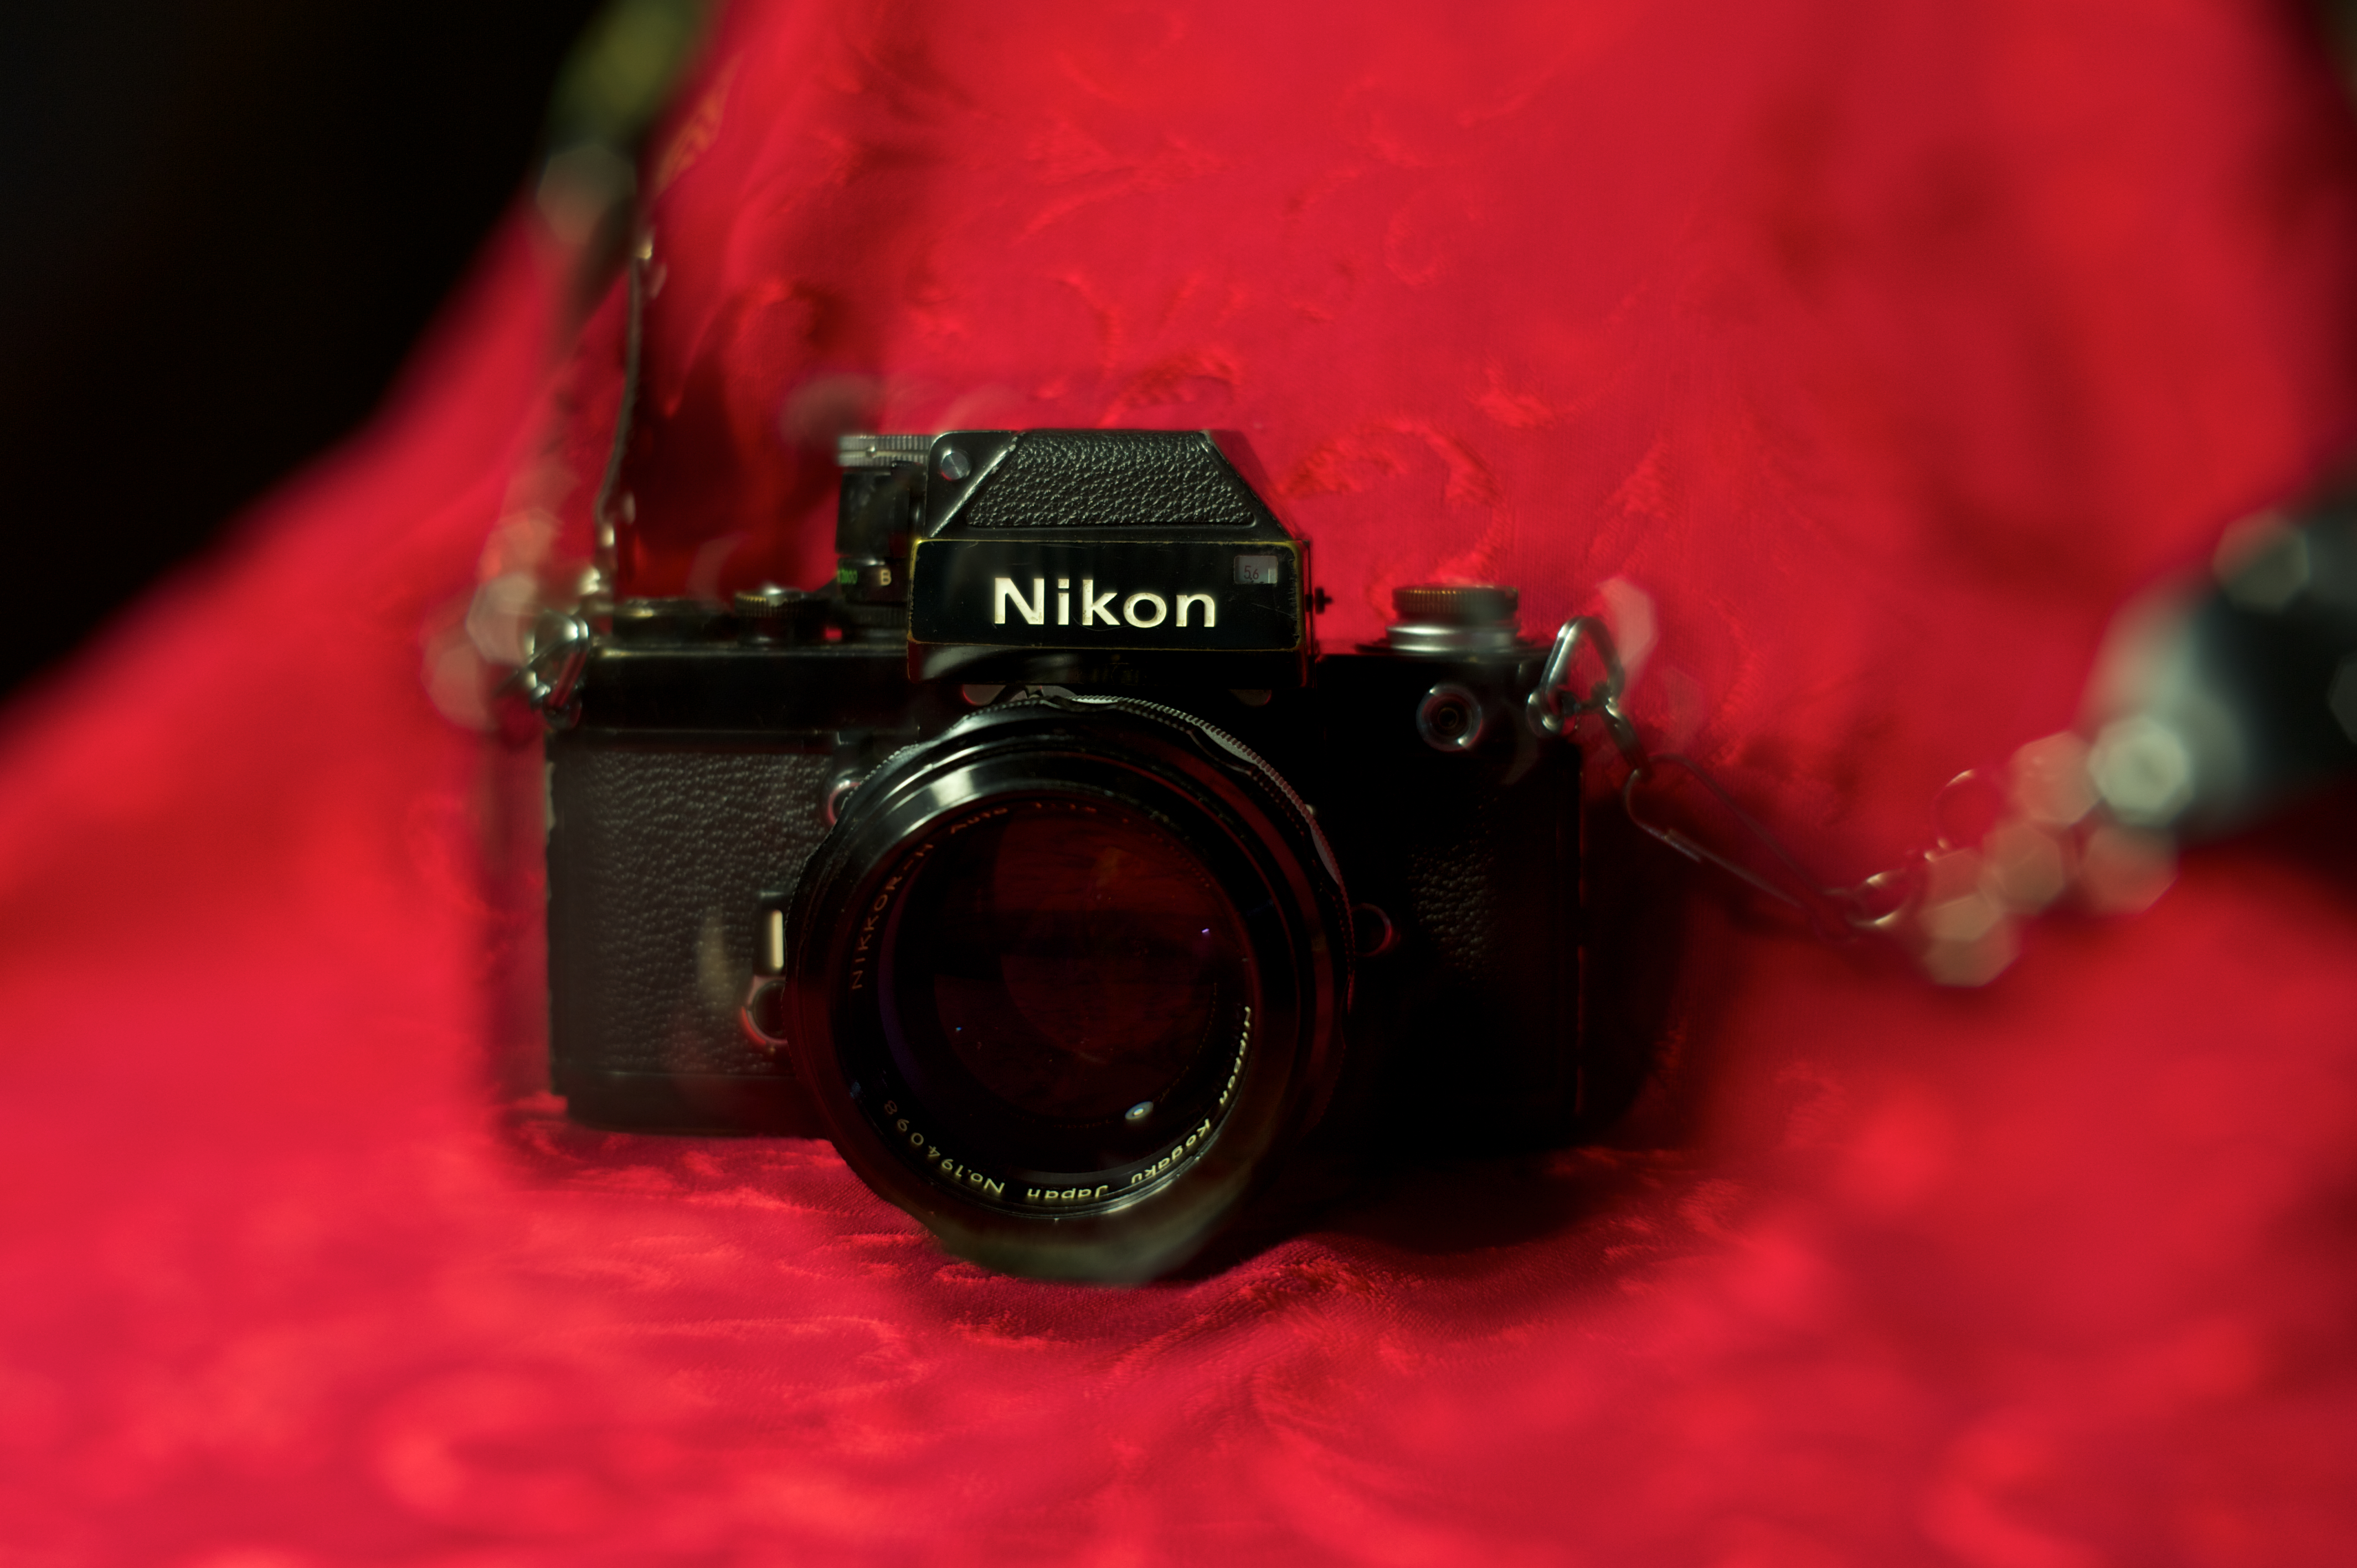
Here is another view of the effect the Center Sharp Focus filter produces; my settings for this photo were ISO 200, f/6.3, shutter 1/13.

My final image is a shot taken with the Vignetar; my settings were ISO 200, f/9, and 1/3 of a second. I again, used the blue filter in Aperture to convert to the black and white.
I think these are great finds. I enjoyed shooting with these and they make great effects. I think they would be a great addition to macro photography to help keep your central focus on your subject. I am going to keep my eye open for other cool “old” items to use.
Happy Shooting!
